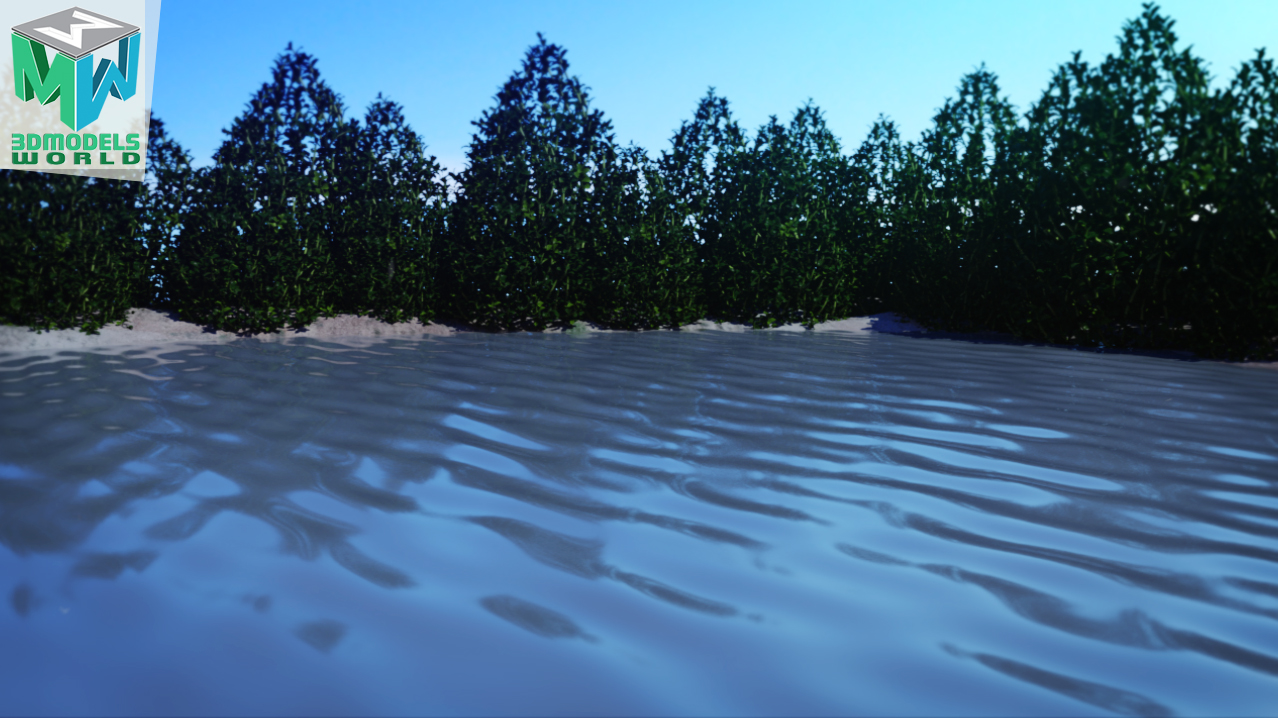
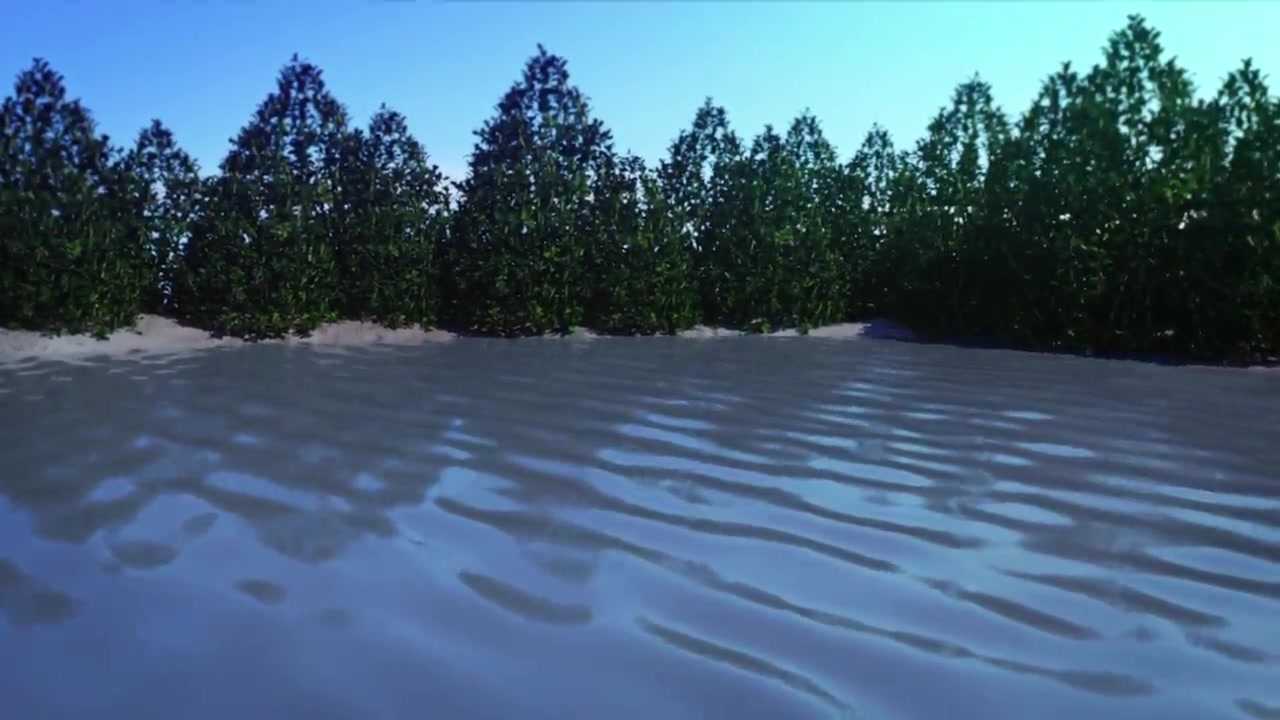
In this Maya 2018 tutorial we will create and render a lake water shader using Arnold ai-standard surface shader and also an animated displacement utilizing the Maya water texture node.
This water shader tutorial will go into a fast and effective technique for simulating the look of lake water or river water in Arnold and Maya 2018, we start by using the Arnold Standard surface material and then adjust the transmission and the diffuse to get the base look of the water shader.
After the basics of the shader is established we will work on the displacement map, using the water texture provided by Maya it will help us to create the deformation of the water and the waves to get the result we want. Finally we will animate the water and render the animated sequence.
Assets used in this tutorial:
click on the link to download: buxus plant cone shape 3d model
This tutorial is for all Maya skill levels, the topics we will cover in this tutorial include the following:
1- Adjust the aiStandard surface shader to behave like water using the transmission and the reflections/specular.
2- Create Maya water texture node and use it as a displacement map.
3- Adjust and customize the geo displacement on the water mesh to look correct using Arnold subdivisions.
4- Animate the displacement map to create the wave movement and correct water behaviour.
5- Create a sub geo for the lake and assign new material to it, to use for coloring the water and enhancing the look of it, this way it will protect the animated water shader and will give us extra layer of control over the water render.
6- Render the water shader in Arnold and Maya 2018 and much more…
We hope that you will benefit from this tutorial, if you have any questions please feel free to ask us in the comments below and we will be happy to answer them.


