This camera projection tutorial will show you how to take a 2d image and convert it into 3d using camera mapping/projection technique in Maya 2015.
Implementing camera projection in your workflow will help you immensely to save time and get great results faster for your projects.
Tutorial Outline:
- Start editing the image in Adobe Photoshop.
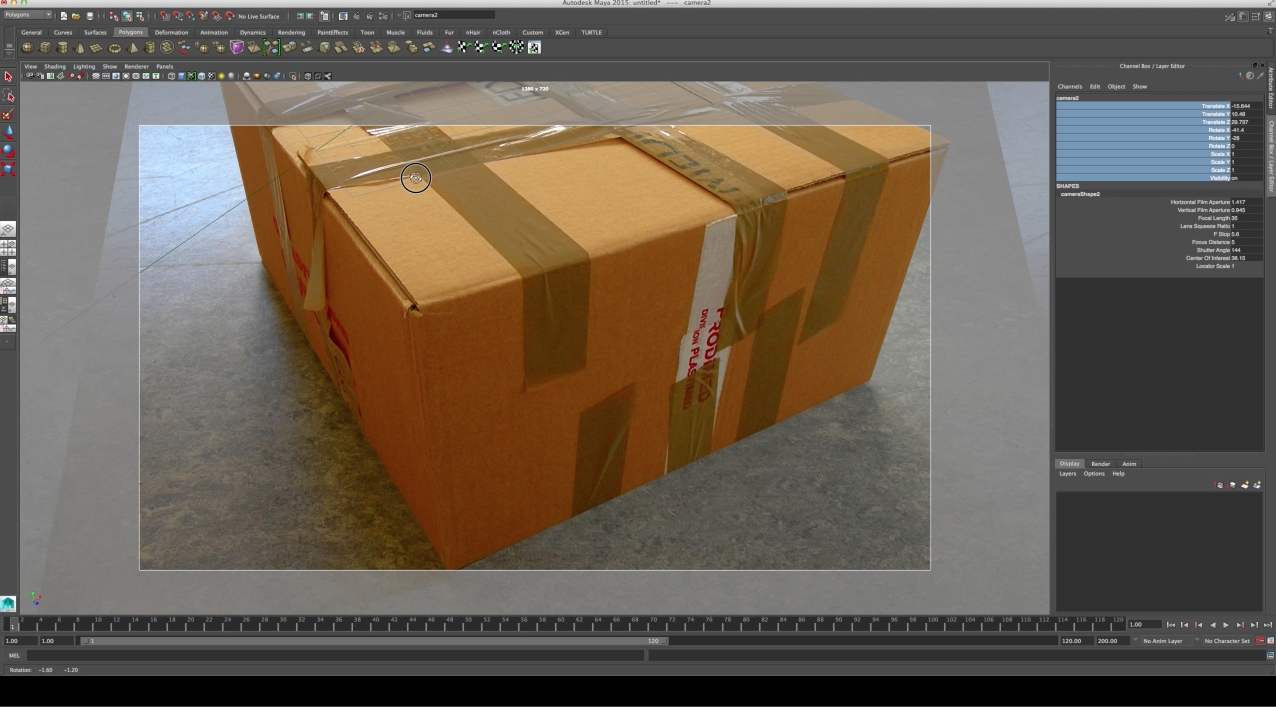
- Create the scene in Autodesk Maya 2015 by adding a camera then creating the box and the ground plane.
- Create and tweak the projection shaders in Maya.
- Create the camera animation.
- Finalize the scene and prepare the image sequence for output.
- Create the final comp in Adobe AfterEffects.
The same methods can be applied to any other 3d software.
Please feel free to download the same image that used in this tutorial if you want to follow along with the video.
Image Source:
http://www.freeimages.com/photo/package-1426094


