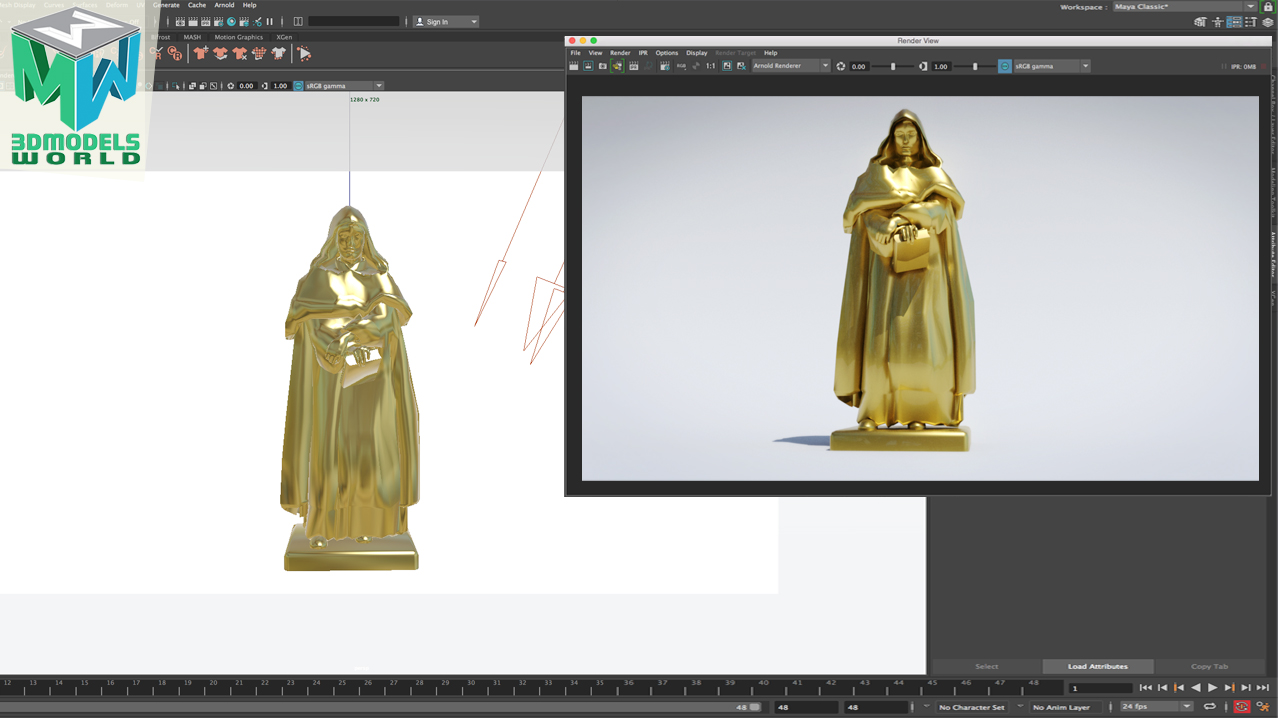
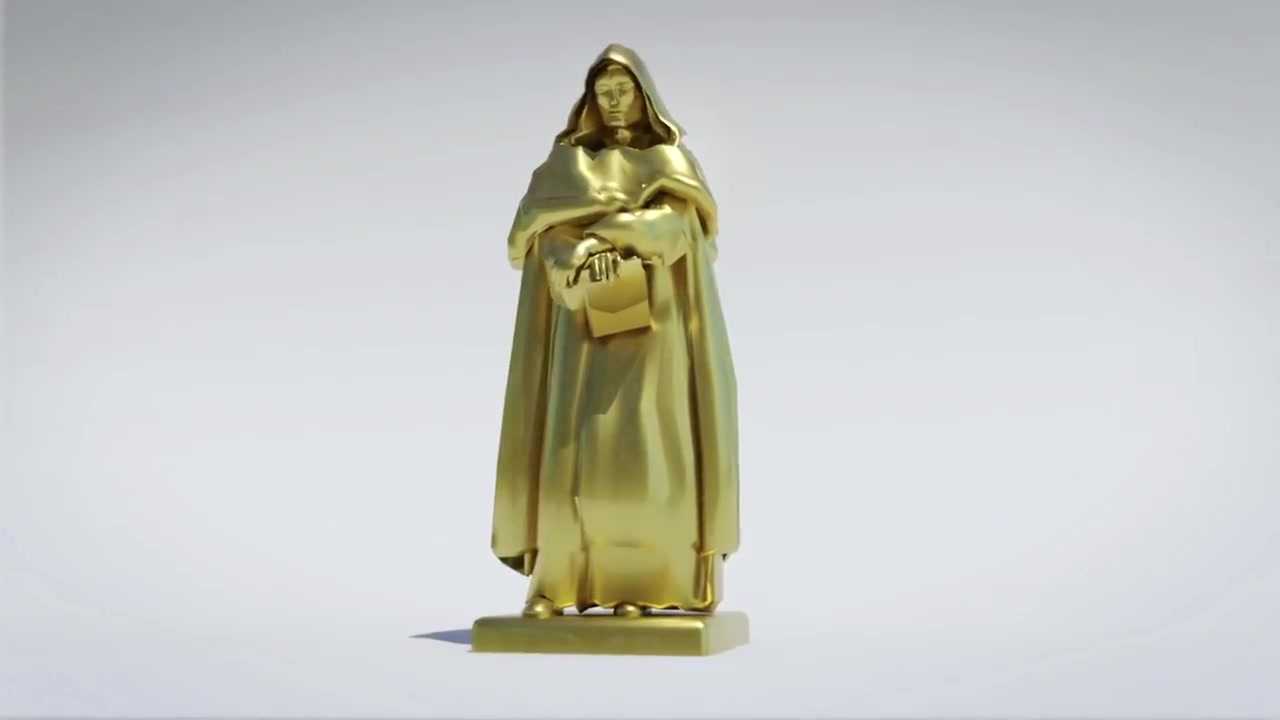
In this Maya tutorial we will create a gold metal – shader using Arnold in Maya 2018 the shader creation will be pretty straight forward, but to achieve a realistic look we will be doing some extra steps to get the look of the shader to behave correct and also we will discuss some tips for rendering the gold to feel more realistic.
We will be looking at reference images so this way we can understand what you are looking for, The approach in this tutorial will work for creating different type of materials as well mainly metal shaders in Maya 2018 and Arnold, whenever you want to create a metal shader its always best to create a lighting setup that utilize the sky-dome in Arnold and make sure to have an HDRI image plugged into the color swatch, this way you can get a better idea of how to develop the shader in Maya and get more accurate/realistic results. cause its important to keep in mind that shading and lighting need to be developed at the same time in order to achieve the best results possible.
Assets used in this tutorial:
click on the link to download: Giordano Bruno Statue 3D Model
This tutorial is for all Maya skill levels, the topics we will cover in this tutorial include the following:
1- Creating Metal – Gold shader using Arnold AiStandard shader.
2- Walkthrough of the sky dome light / HDRI lighting setup using Arnold.
3- Tips and tricks for enhancing the look of the gold shaders using the specular ray depth
4- Using the coat property in the ai-standard surface to enhance the look of the shader and add extra reflections and much more…
Links for the HDRI images used in the tutorial:
1- Links for the HDRI library used in this tutorial: http://www.hdrlabs.com/sibl/archive.html
We hope that you will benefit from this tutorial, if you have any questions please feel free to ask us in the comments below and we will be happy to answer them.


