Intro:
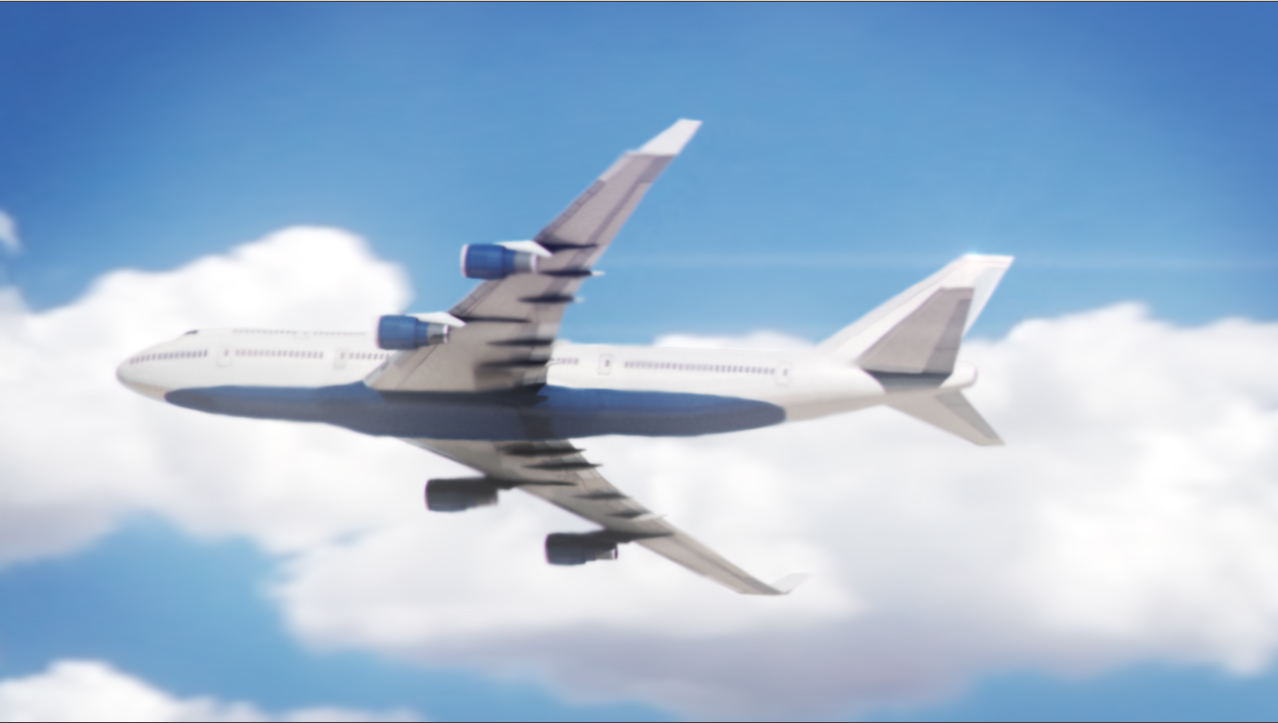
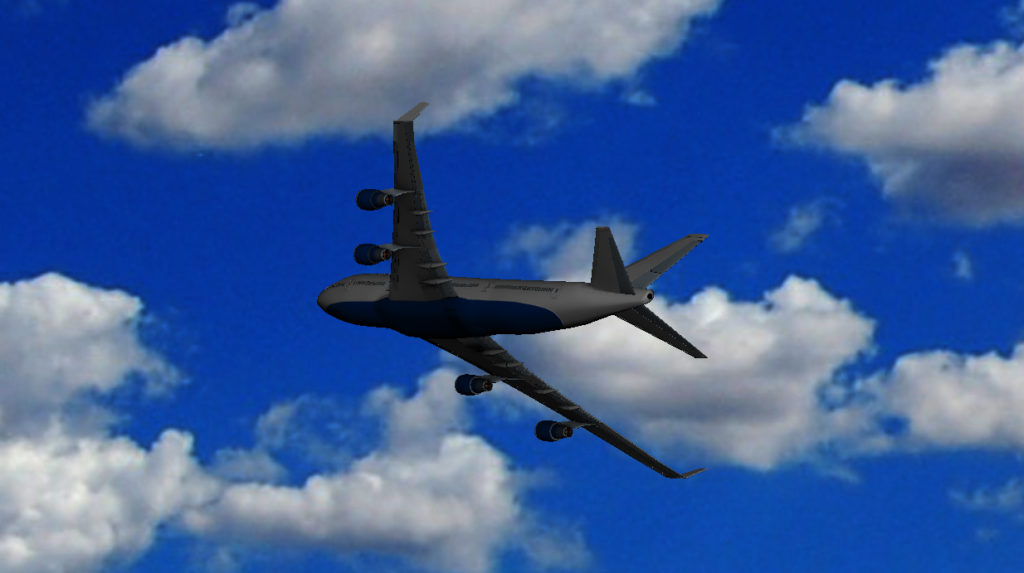
One of the super fun activities that we like to do here at 3D Models World is create animation/VFX type shots for our clients or just for fun! for this project our team have been tasked to create a VFX type shot of a Boeing 747 fly by, luckily we already have the 3d model ready in our store so we didn’t need to model it from scratch, the model is pretty detailed it have all the exterior moving parts separated which is great for rigging and animation but it doesn’t have the interior parts built and thats ok in our case since we needed the plane just to do a fly by.
In this post we would like to share a making off of this shot and share an overview of the process so hopefully you guys will find some of the information here is helpful and valuable to you.
For more information and details/specs about the Boeing 747 3d model that we used in this shot please click the link: Boeing 747 3d model
The Process:
Environment:
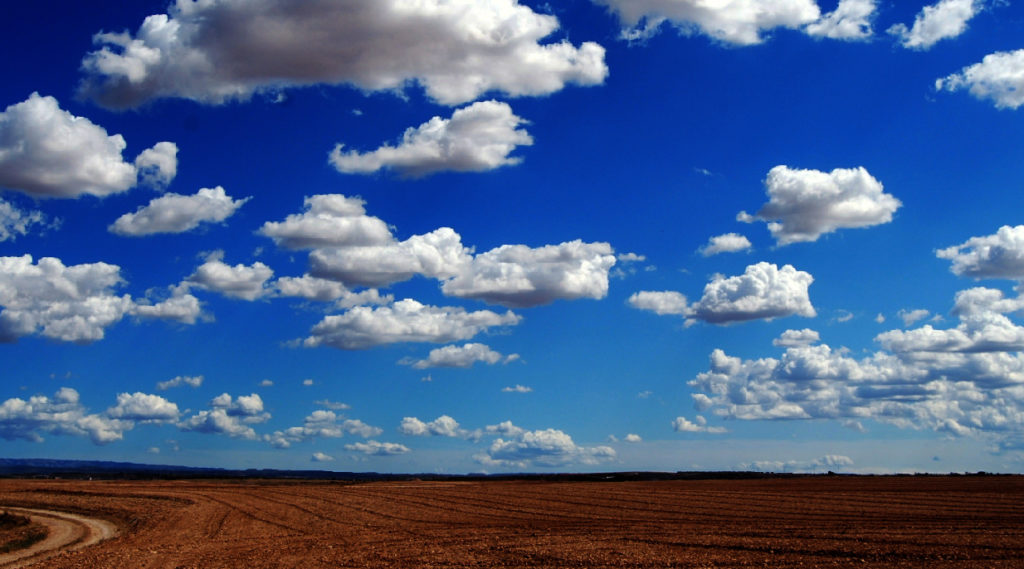
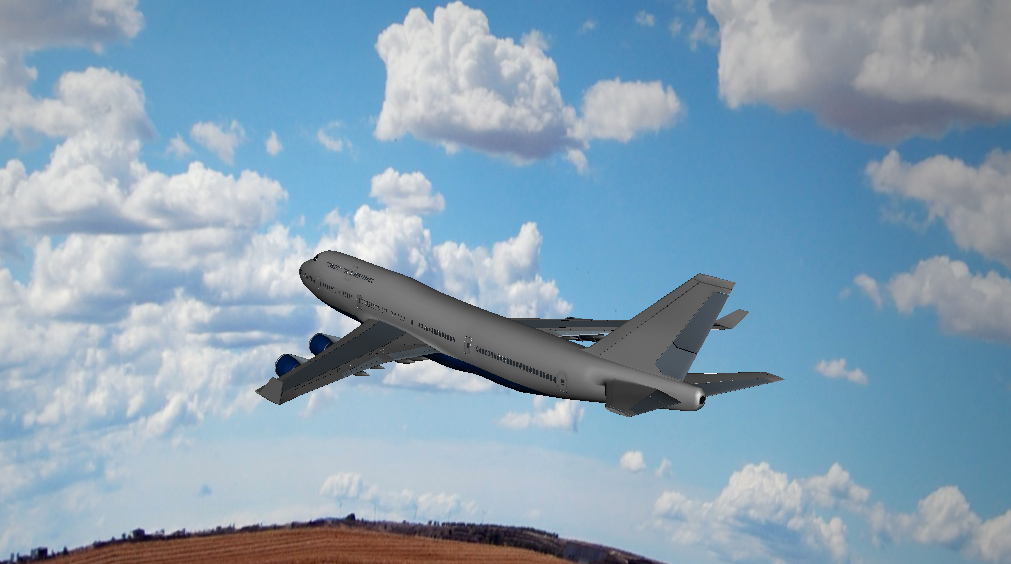
First we wanted to make sure the environment was real, so we created a plate from a real image of a desert and roughly animated the camera as well, for this early stage the camera movement will be experimental, we wanted to see how much room we have to move the camera around on the plate while maintaining a believable movement, cause we want to approach the camera movement like in a real life situation so we treated our cg camera as if it was a real camera.
Its easy in 3d to start moving the camera too much and this way you will introduce more issues to the shot that will be hard to fix later on, its very important to keep in mind when animating for VFX is to keep things subtle and realistic like in real life. cause ultimately thats what we are trying to achieve in this case.
Animation:
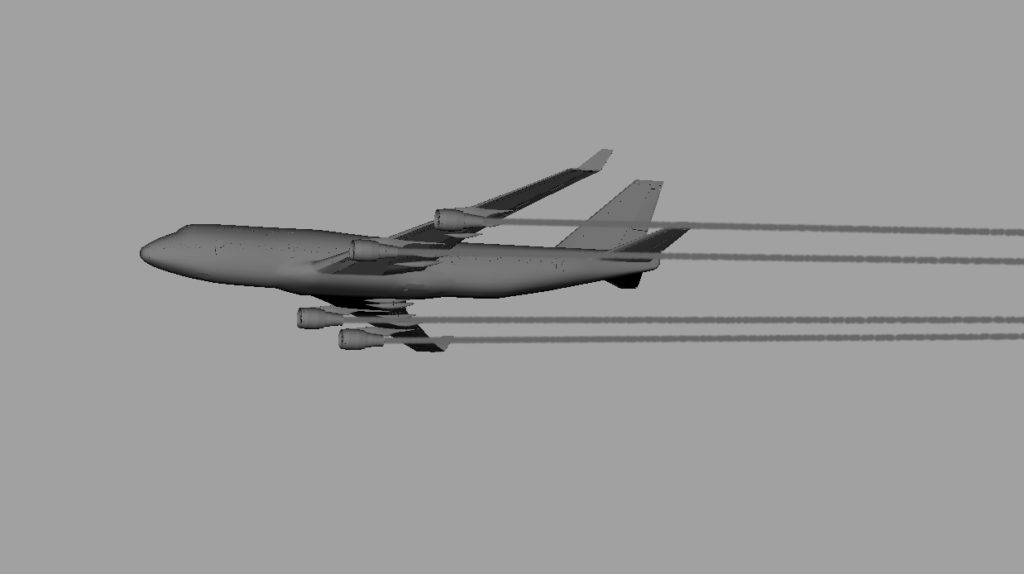
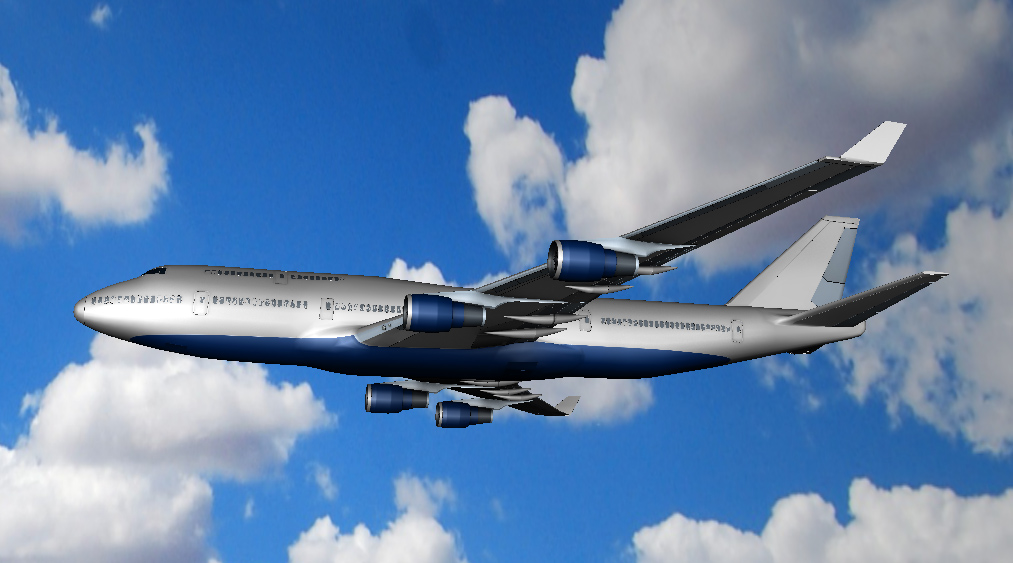
Once we had the background and the camera roughly working out, we started to work on the Boeing 747. so the 3d model comes in two stages the first stage is all the wheels are down and ready to land, so its in landing mode and the 2nd stage is all the wheels are inside the plane like flight mode, so for this case we used the version of the plane where the wheels are in flight mode. this step saved us lots of time as well. now if the plane had to lower its wheels for landing then we have to rig it to do that. thats actually something we are working on to bring to this model is a fully rigged version.
We then animated the plane on a path roughly similar to the movement of the camera and we worked on adjusting both the camera and the plane animation until we got them both in a sweet spot, we also animated the camera focal length in Maya just to get more dynamic zoom in when the plane is passing by, its important to keep in mind while animating is to do some experiment and adjust camera or character/vehicles if necessary to achieve better and cooler results its a fun process and its important to make it as good as possible cause everything after that will build up on top of this step.
Creating The FX:
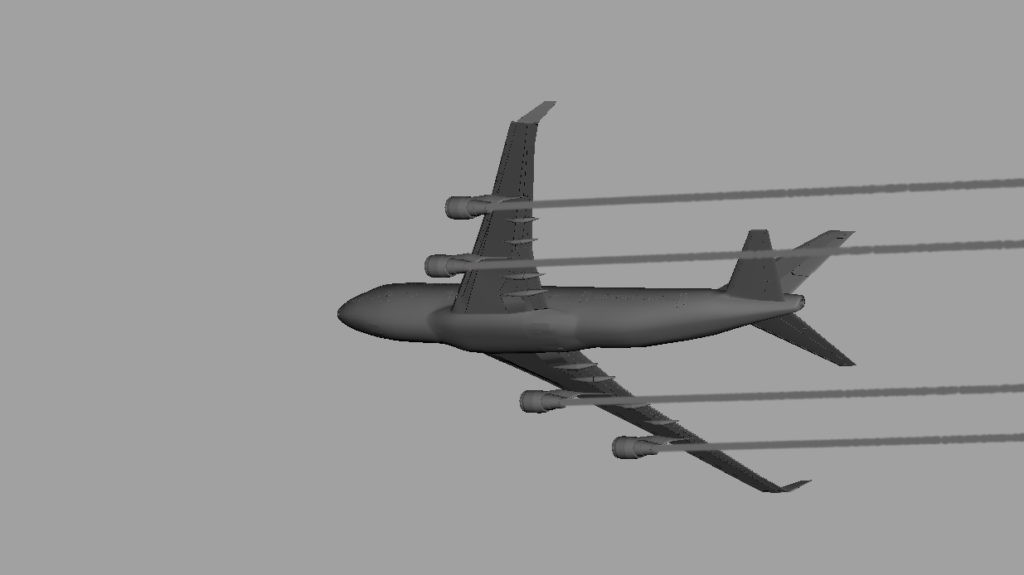
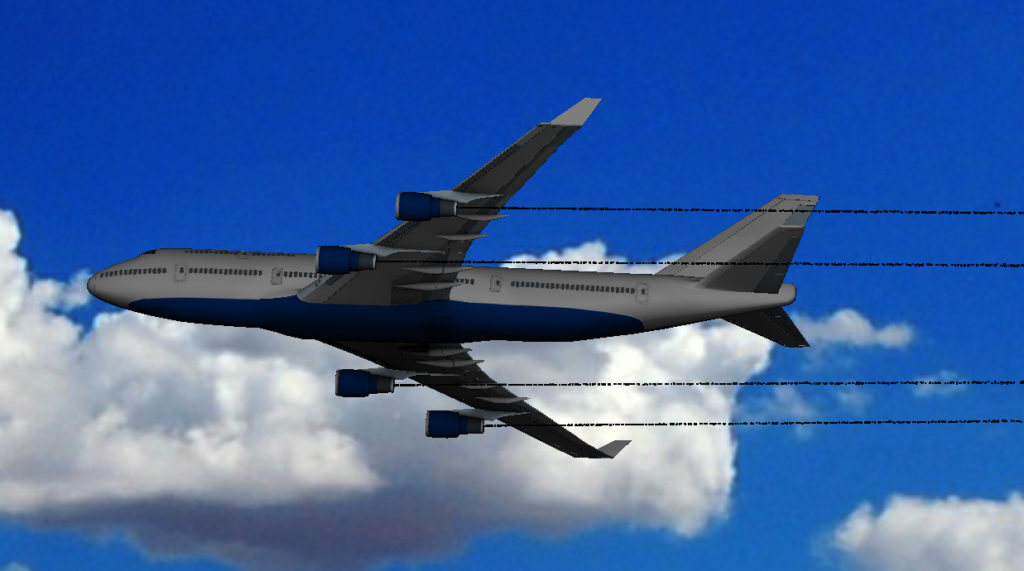
Once we are happy with the animation the next step is to create the FX for the jet engines, we wanted to create subtle but still cool jet trails, so created a particle simulation using Maya n-particles, we used directional for the emitters, for the life of the particles we made it to live forever then constraint the emitters to each engine, also we choose to emit clouds and not spheres or anything else and we played with the settings to get thin dense trails, we did not worry about the density of the trail in Maya too much cause we know when the time comes to do the compositing we will do the adjustments over there.

Lighting and Rendering:
When it comes to lighting there is a lot of ways to achieve a certain result, since we are using a plate we had to check the shadows direction on the plate and adjust our lighting in Maya to match the same direction of the sun, we created directional light for the main light (sun) also couple of bounce lights and HDRI dome for reflections on the plane body and to give additional and full bounce light on the plane body.
The plane have 3 texture maps (8K diffuse map with baked ambient occlusion, 8K Specular map, 8K Normal map) these maps helped a lot in making the plane looks realistic and detailed also the windows and doors on the plane are modeled so this will give extra believability for it and make it look much cooler for this kind of shots.
We used a few render passes like Shadows, Beauty, Reflections, FX, Plate, Depth, Specular and material id as well. for the motion blur we did it in post using after effects.
Compositing and Editing:
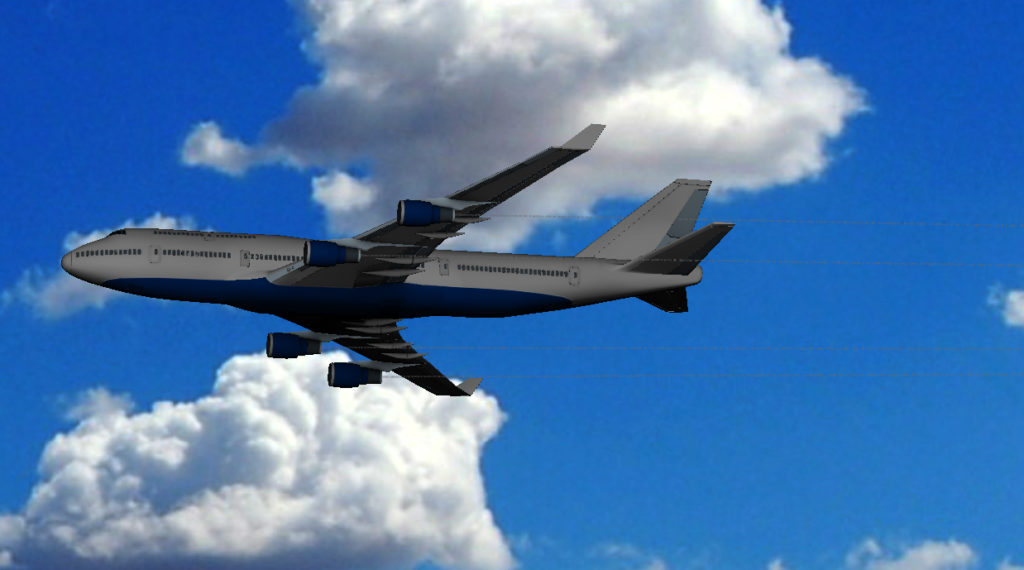
For the compositing part, we used after effects to put all the render passes and layers together, also to do the final color correction and adjustments required to blend the plane with the plate in a believable way, when it comes to coloring its very important to keep in mind to be subtle and to not overkill the image with too much color manipulation, extra things we added in the comp is a subtle lens flare from the planes tail when it start turning, also we added some grain in the plane to match the background grain cause we wanted to reduce the cg feeling of the plane as much as possible, so we looked carefully at the background plate and see what we can take from it and add to the plane, like grain and noise etc..
For the editing and sound we used adobe premier to put everything together its pretty simple sound effects and logos so it wasn’t too hard to do 🙂
Conclusion:
It was really a great project to work on for our team and we had a great time working on it, the key thing to keep in mind when creating this type of shots is try to keep things simple and also to make sure the story you are trying to tell your audience is clear and easy to understand, from our experience its easy to get distracted with so many ideas and also to try to go over complex on tasks that could have been achieved with simplicity. we hope this overview is helpful and you guys will find it valuable! if you have any questions or comments feel free to leave them below and we will be happy to answer you!, until next time take care and happy animating & rendering 🙂
For more information and details/specs about the Boeing 747 3d model that we used in this shot please click the link: Boeing 747 3d model
The Software’s:
We used Maya for modeling, texturing and animation, we used mental-ray for rendering and the compositing done in After Effects. the final editing done in Adobe Premier.
It was a great shot to work on and our team had a blast working on it, hope you guys will like it too! feel free to share and let us know what you think!


