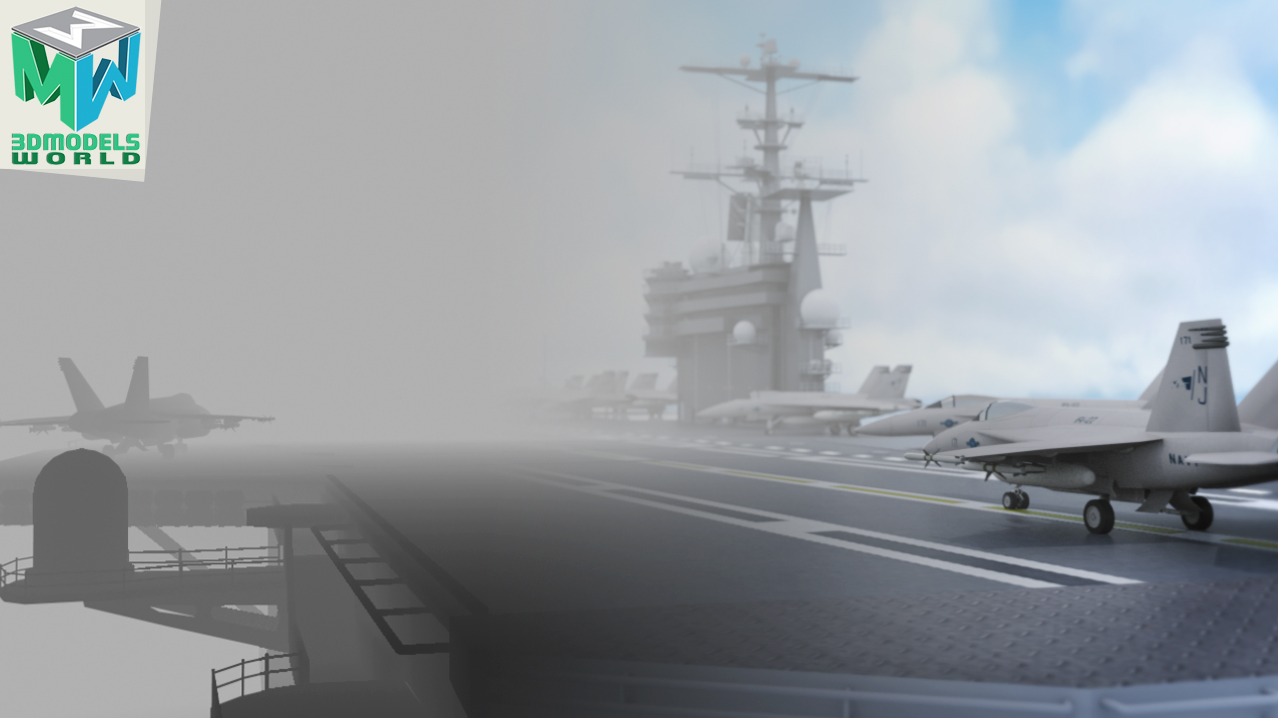
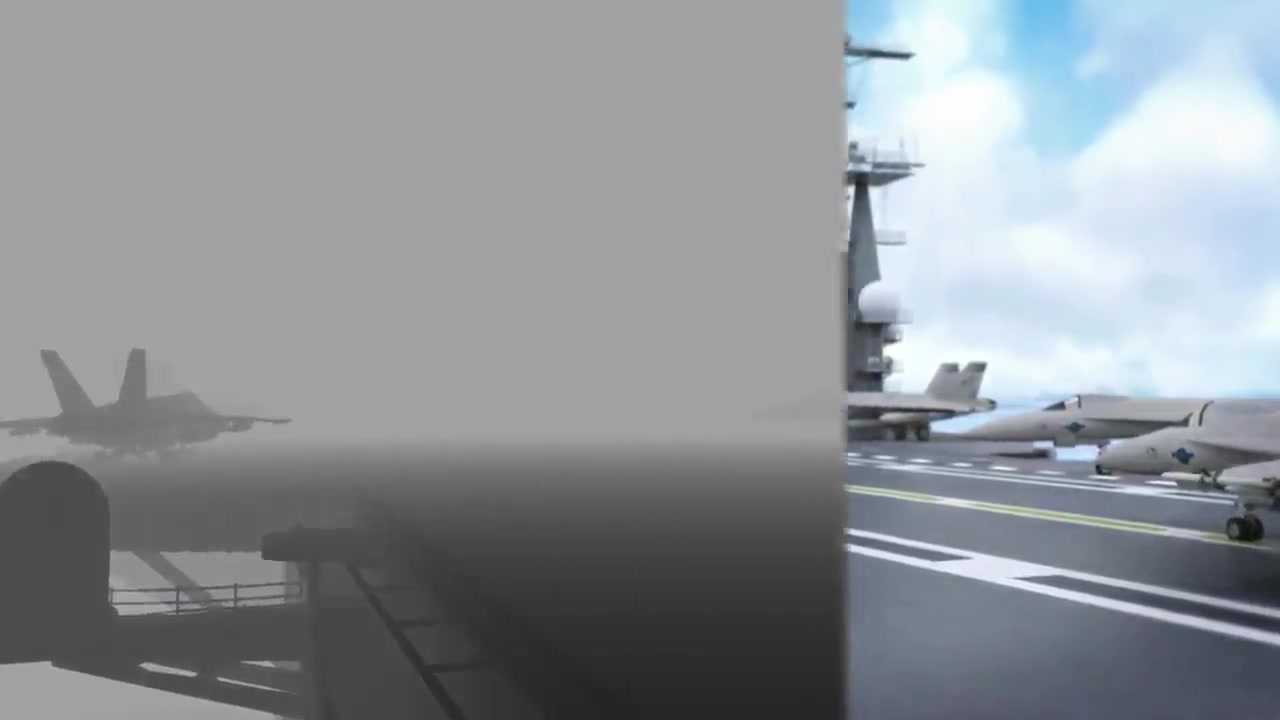
In this Maya 2018 tutorial we will render z-depth pass in Maya using Maya software render utilizing the environment fog in the render options.
We will use a workaround for those of you who don’t want to use Arnold or Mental ray render passes to achieve the same results, the great thing about this approach is you can apply the same technique to any version of Maya and will always get a pretty good results of accurate Z-depth pass.
We will be suing the Render setup window to create Zdepth layer and assign all our objects in the layer a material override so this way we can customize the render results in Maya software.
With this Z-depth tutorial you will still be able to render your regular render passes using Arnold or Mental ray and use Maya software to generate the Depth Pass.
Assets used in this tutorial:
click on the link to download: FA18 Super Hornet 3D Model
click on the link to download: CVN 77 Aircraft Carrier USS George H.W Bush 3D Model
This tutorial is for all Maya skill levels, the topics we will cover in this tutorial include the following:
1- Using the Render Setup editor to create new layer override.
2- Using the Maya Software render environment fog utility to render z-depth in Maya.
3- Customizing a basic shader and assign to the geometry in our scene to get the proper z-depth pass and look.
4- Setting up the render setting to be correct for master layer pass and the z-depth pass.
5- Rendering z-depth pass using Maya software render and the beauty pass using Arnold rendering engine.
6- Importing the images sequences in After Effects.
7- Applying a Lens Blur effect onto our beauty pass in after effects then connecting the depth pass to get the correct depth of field look.
We hope that you will benefit from this tutorial, if you have any questions please feel free to ask us in the comments below and we will be happy to answer them.


