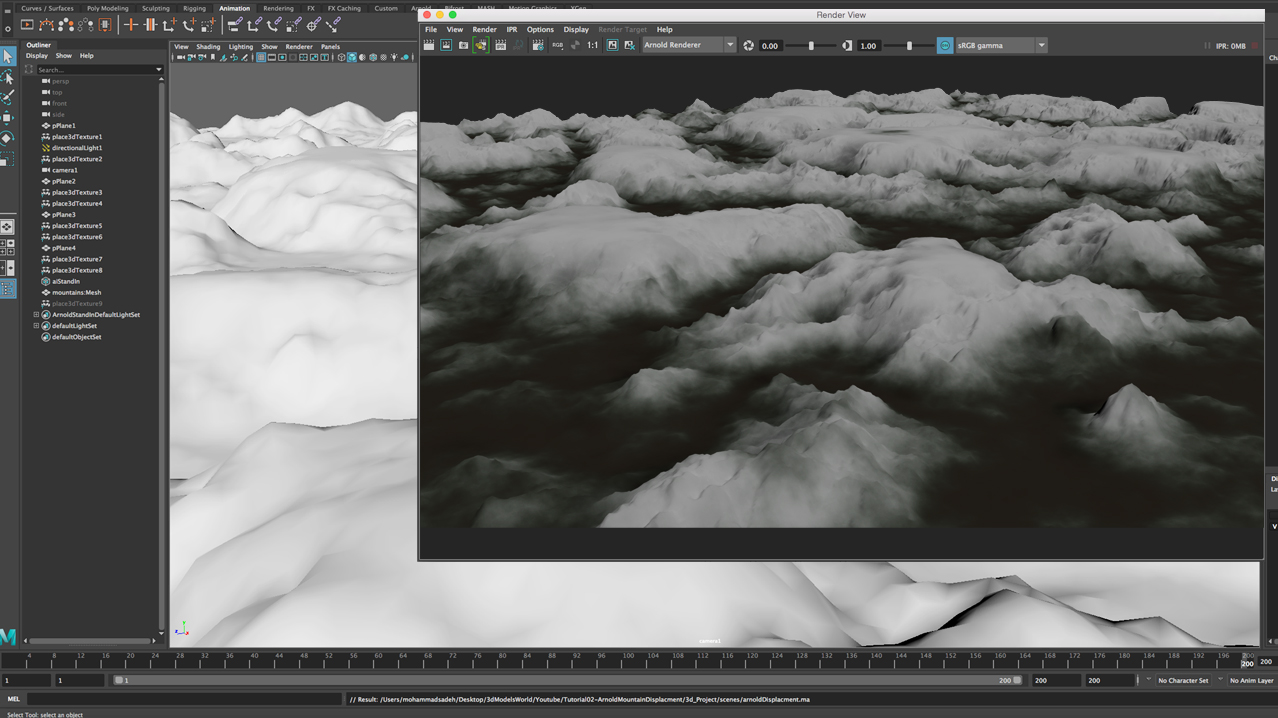
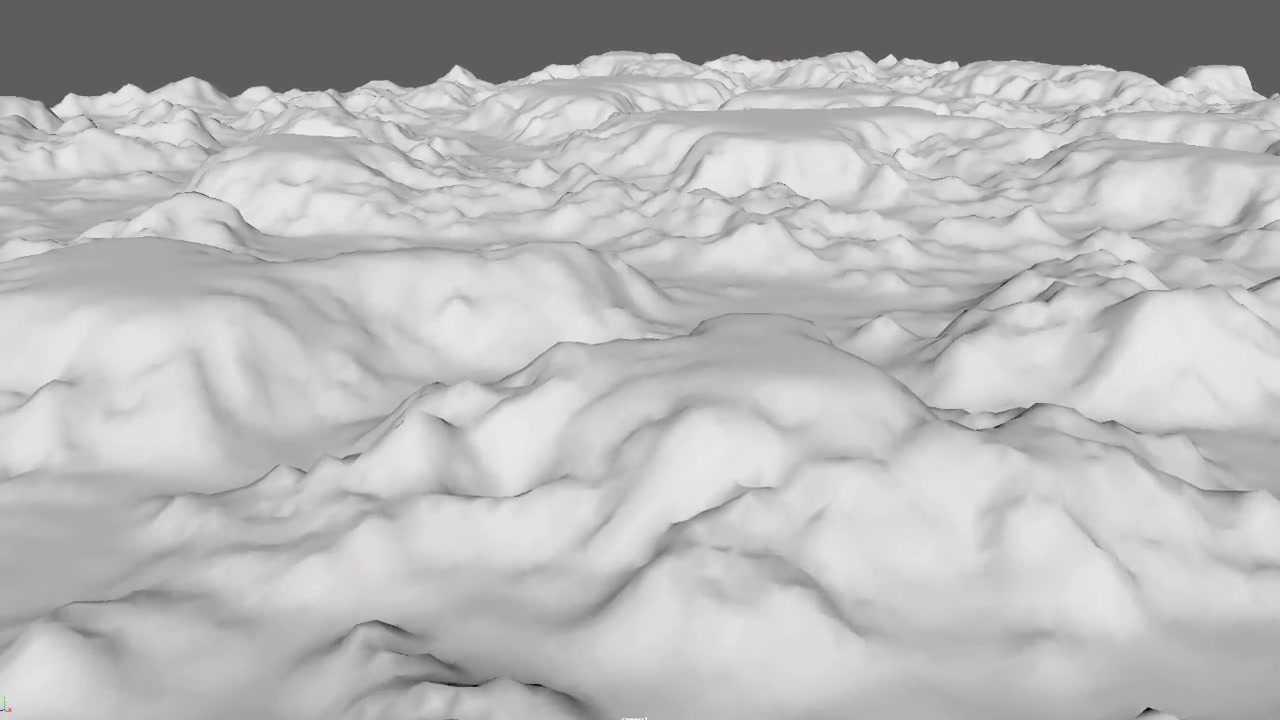
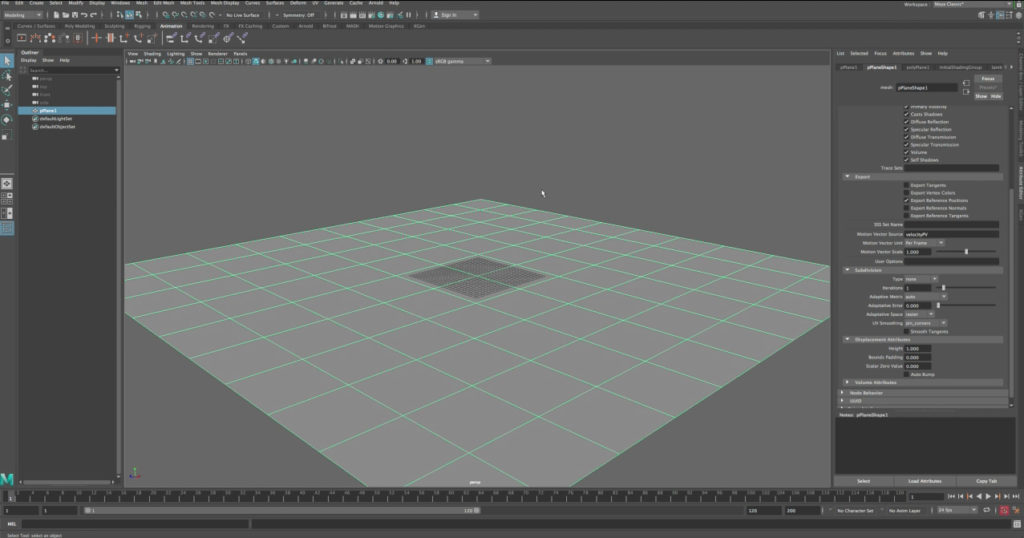
In this tutorial we’re going to create mountains using Maya and Arnold displacement map, the first thing we need to do is create the base of the mountain, Let’s create a polygon plane then press R and scale it so this way we can get the scale that we are looking for, however we don’t need to worry too much about the perfect scale right now because you can adjust it later.
Next thing we need to do is we’re going to create a material for the displacement map so let’s go Windows rendering editor and hypershade, then let’s create a new Arnold material a standard-ai surface.
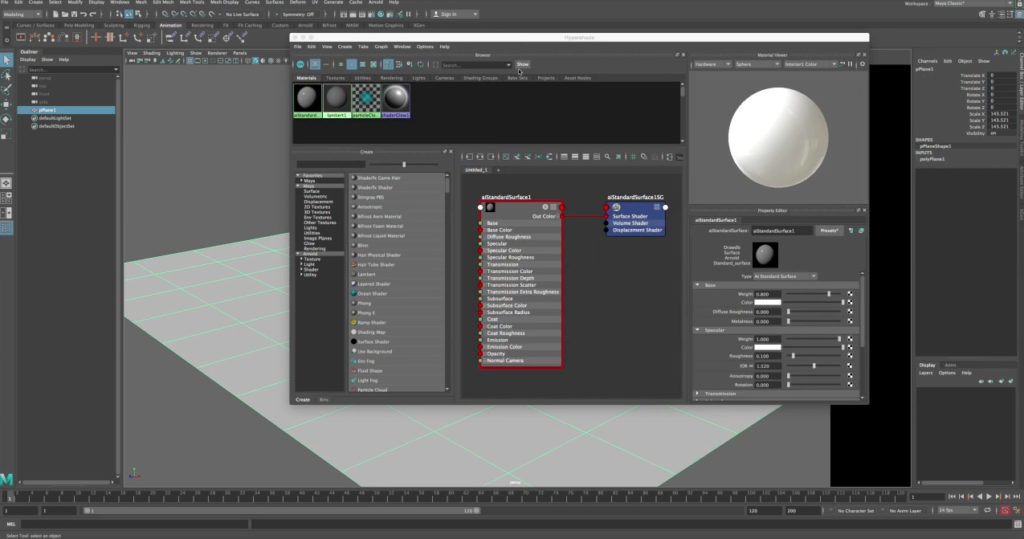
Now let’s create a 3d textures, lets go to the side of the hypershade panel click on 3d textures let’s click on crater so this way we get this crater node, lets organize the hypershade nodes quickly.
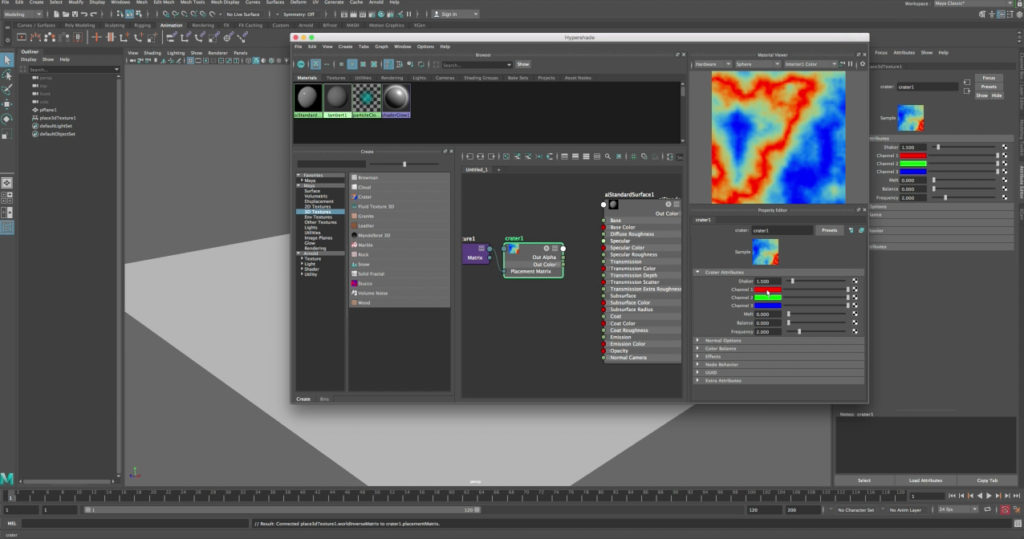
Let’s click on the crater to create the displacements map the crater node usually takes white black and gray lets adjust the colors and then let’s connect the out color of the crater to the base color of the poly plane. and let’s hit six on the keyboard.
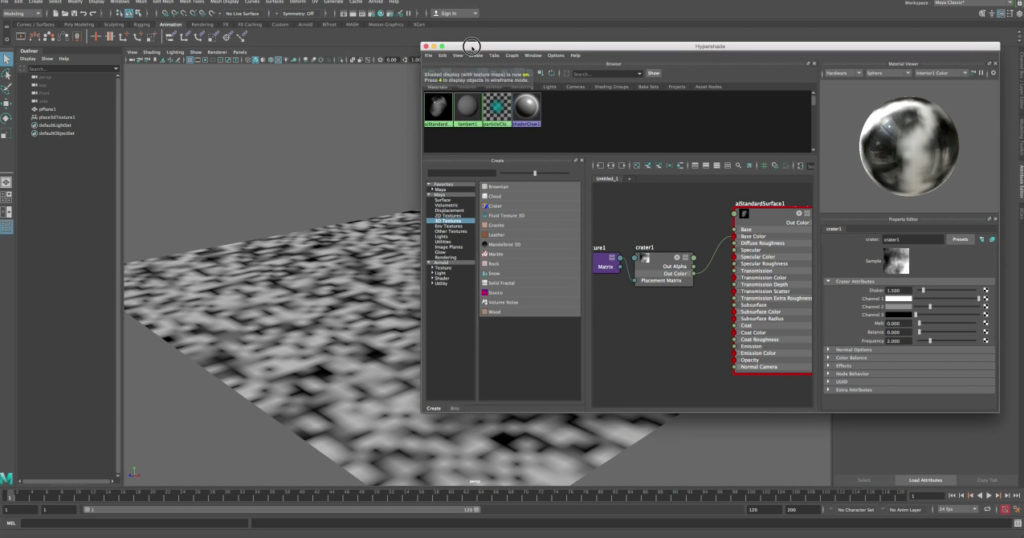
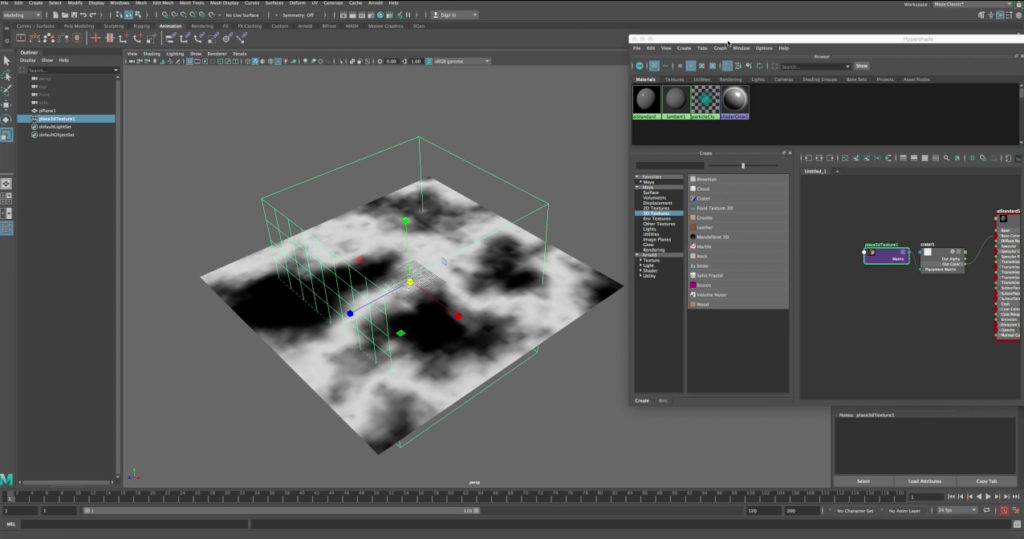
The next thing we need to do is select the 3d texture in the viewport and let’s scale it up until we like the result.
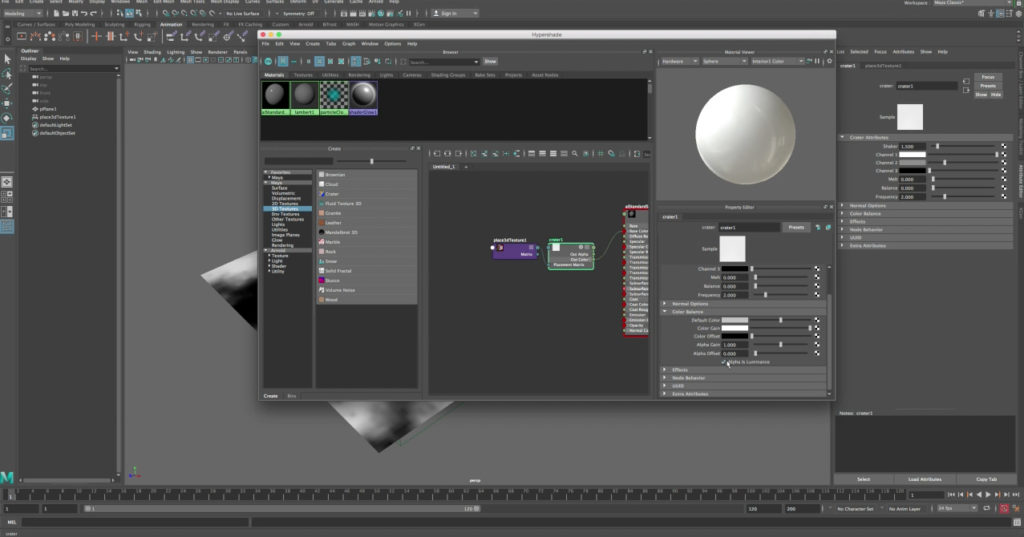
In the color balance let’s make sure we click alpha is luminance this is so the displacement can be read correctly in Arnold.
Next thing we need to do is go to the mountain terrain let’s make sure we are on the shape node then scroll down under Arnold tab let’s scroll down to the subdivisions and change its type from none to Catclark and lets change the iteration to four, this will increase the details of the displacement map for the rest of the displacement attribute we can leave everything the same now.
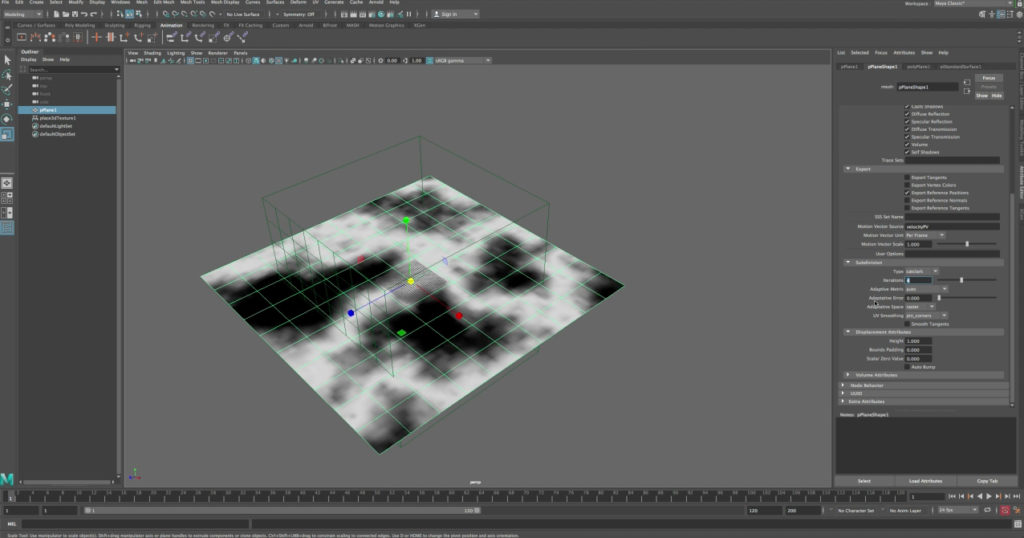
Next thing we need to do we need to go to the hypershade and create a displacement map to the shading group. lets select the crater texture then middle mouse and drag to the displacement in the shading group, this way we connected the texture to the displacement node so everything here is good we don’t need to change anything
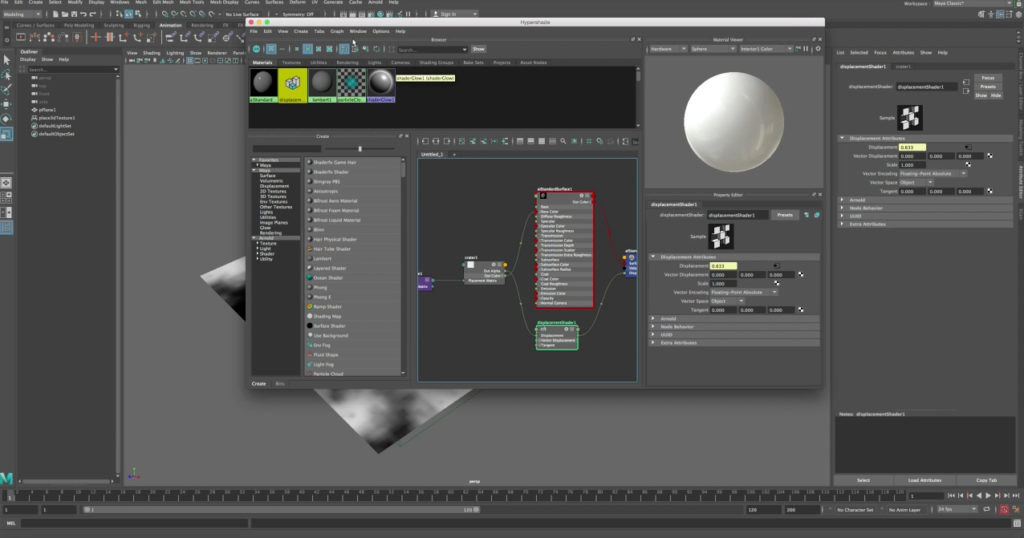
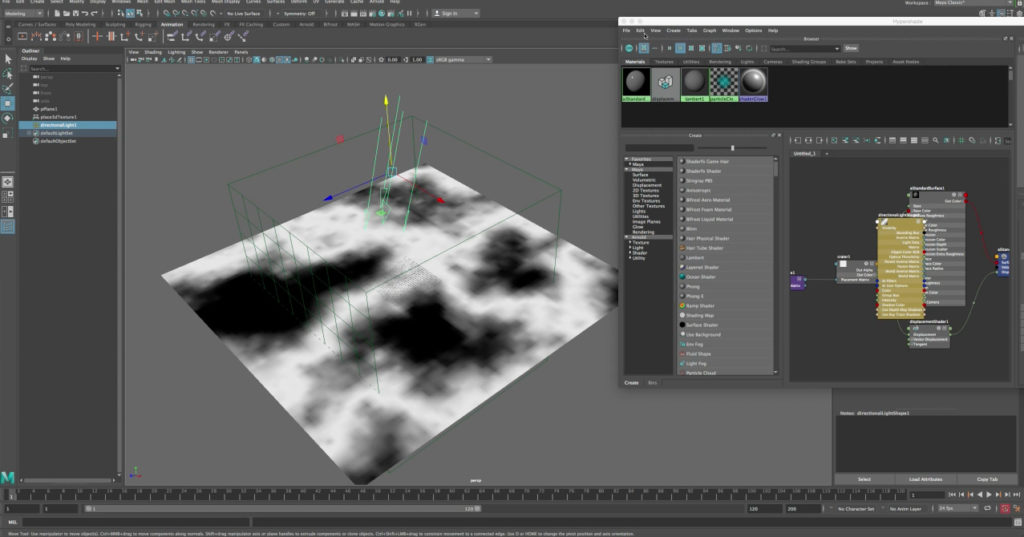
Let’s make sure we have a light in our scene lets create directional light then press 7 let’s scale and then rotate it so you can see the direction
Ok great so let’s minimize the hypershade and let’s select our resolution and then render ok so now the displacement is really strong so let’s save this image for comparison later and let’s close the window
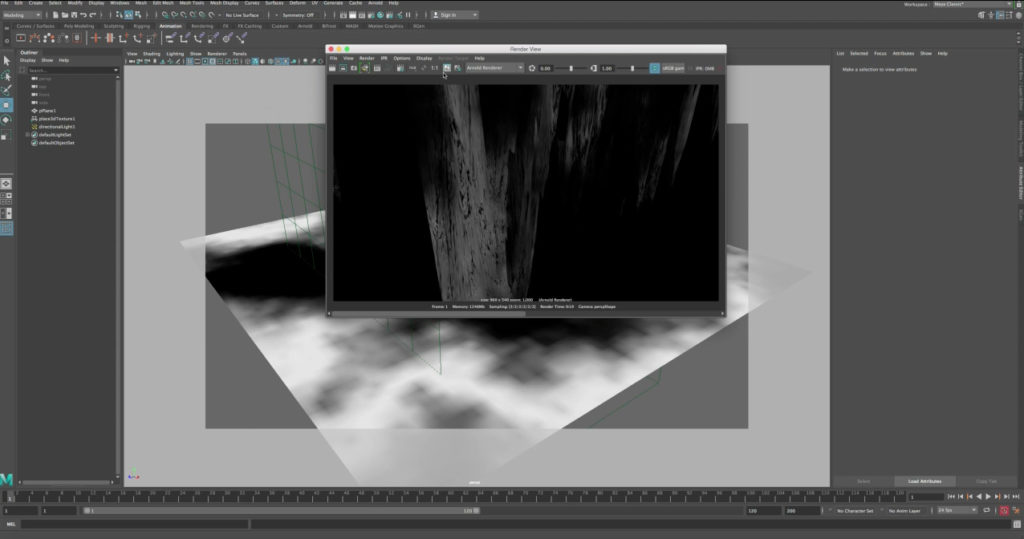
Lets select the terrain and change the displacement attribute in the height section from one with 0.1 so basically be toning it down.
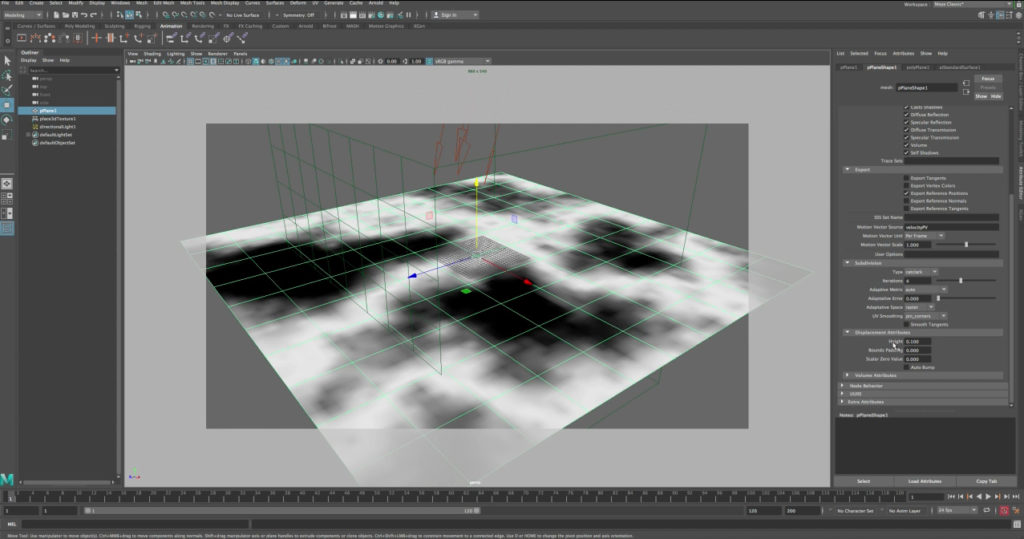
Let’s render again ok so now we can see the mountain showing up here in Arnold one thing I notice in the render that there is white dots everywhere so lets get rid of them these white dots are caused by specular and reflections in the material.
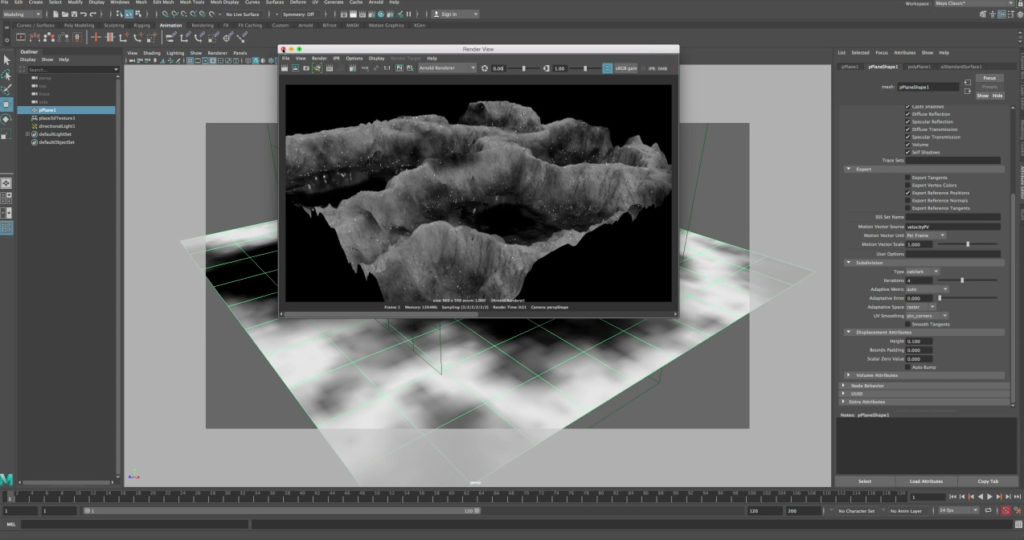
Let’s change that in the material editor, lets select the mountain then let’s go to the shader settings and under specular let’s take it all the way down to zero the color also to zero.
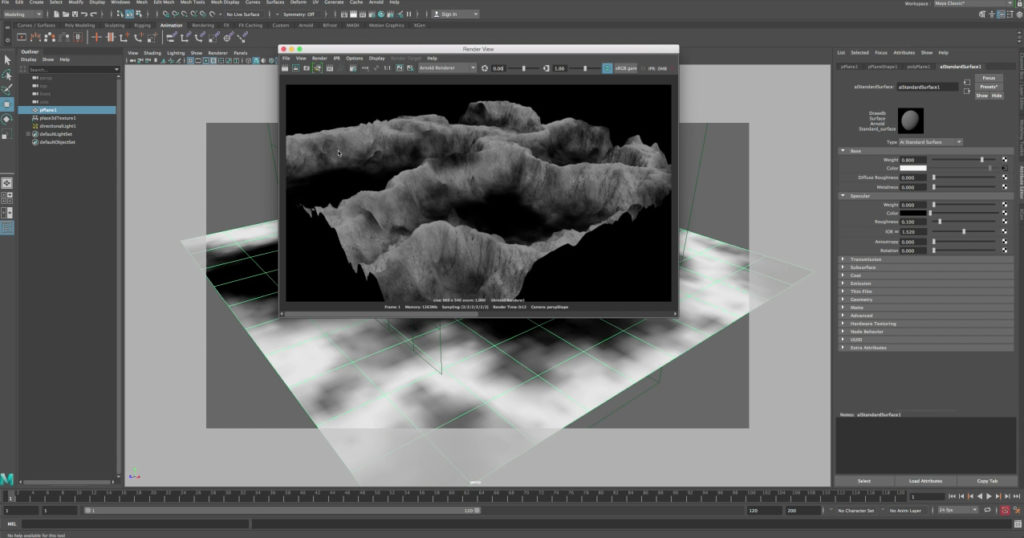
This way we can render and see the result is looking pretty good so now let’s do some changes on the crater shader again, click on the color so we are in the crater shader and then let’s start doing some tweaks to the settings of the Shaker, change it to 1.220 so this should be good, one of the great thing of having the crater connected to the color of our mountain material is we can always see the changes in realtime and how much its affecting our displacement, okay so lets render, now we’re getting a much better shape.
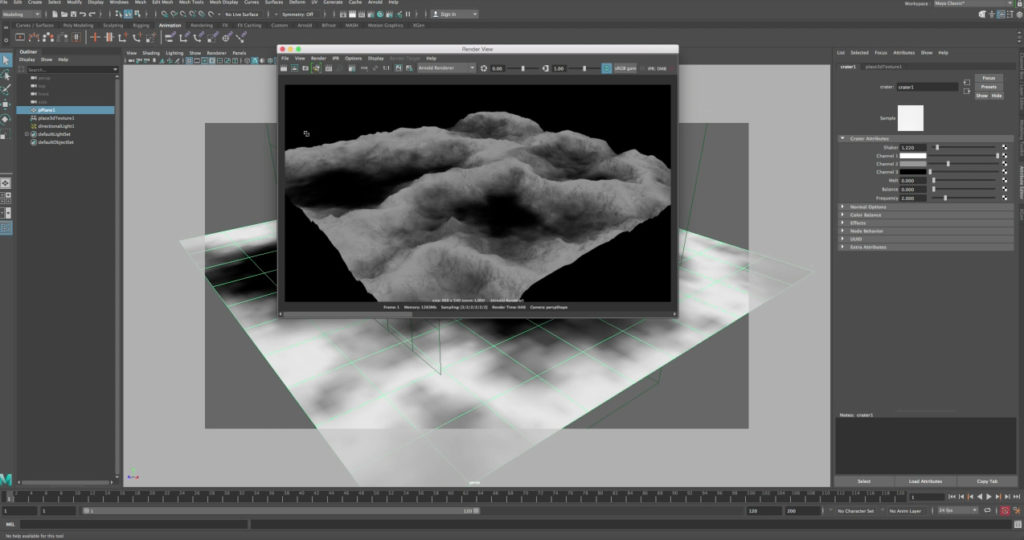
The next thing we need to do is let’s go to the hypershade and disconnect the out color from the material so the crater is not contributing to the texture anymore but still the displacement is connected to crater one.
Let’s create another 3d texture and let’s choose crater, this one will use it to create our mountain basic texture so we can have nicer colors instead of black and white, click on the newly created crater – and then let’s choose white for the top part (representing snow) basically we will be doing some tweaks/changes here to be similar to crater one we that we created for the displacement, for the second color lets choose green and finally for the bottom color let’s change it to be dark brown.
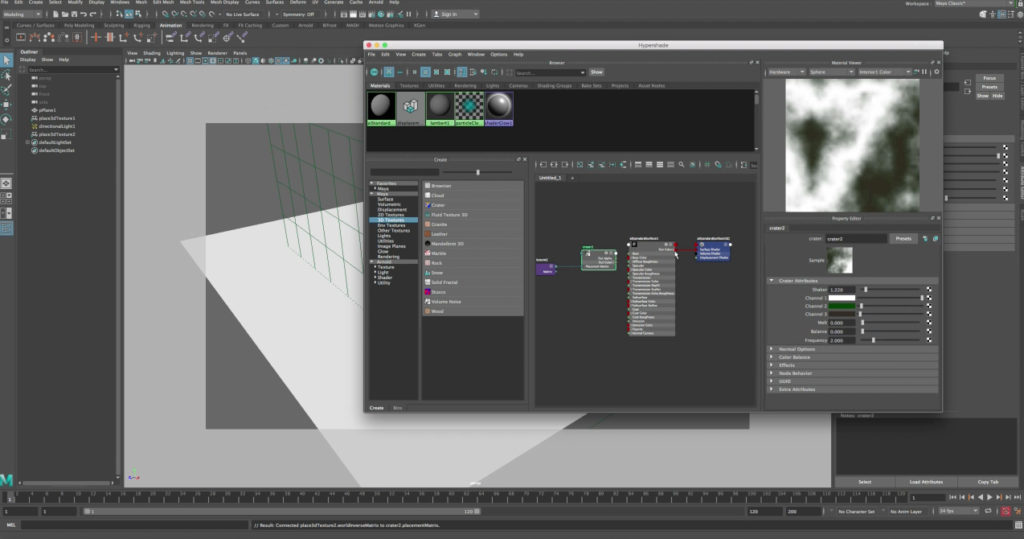
Now lets connect the crater out color to the material base color.
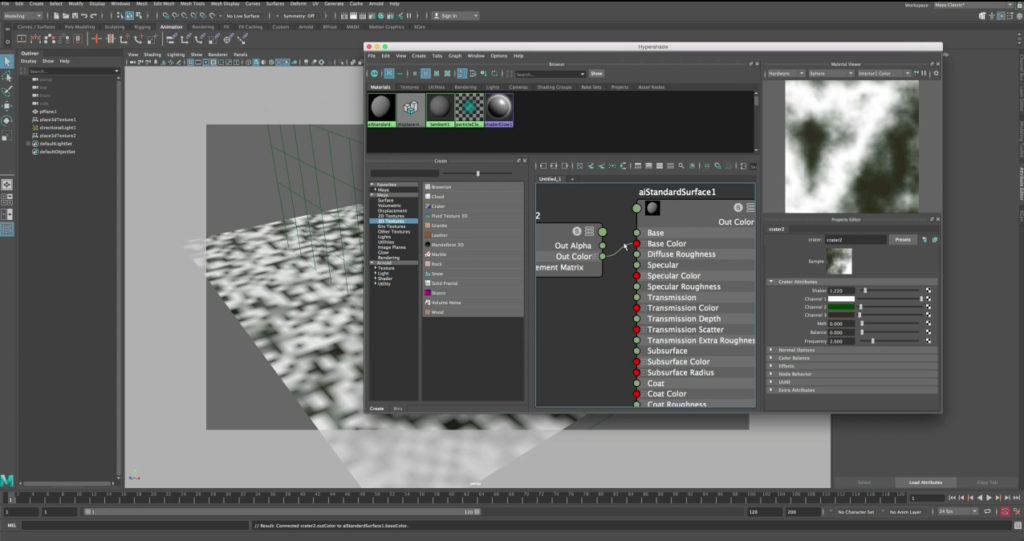
Important thing to do now is to select the 3d texture of the crater that we just created and let’s scale it to match the same scale of the displacement 3d texture.
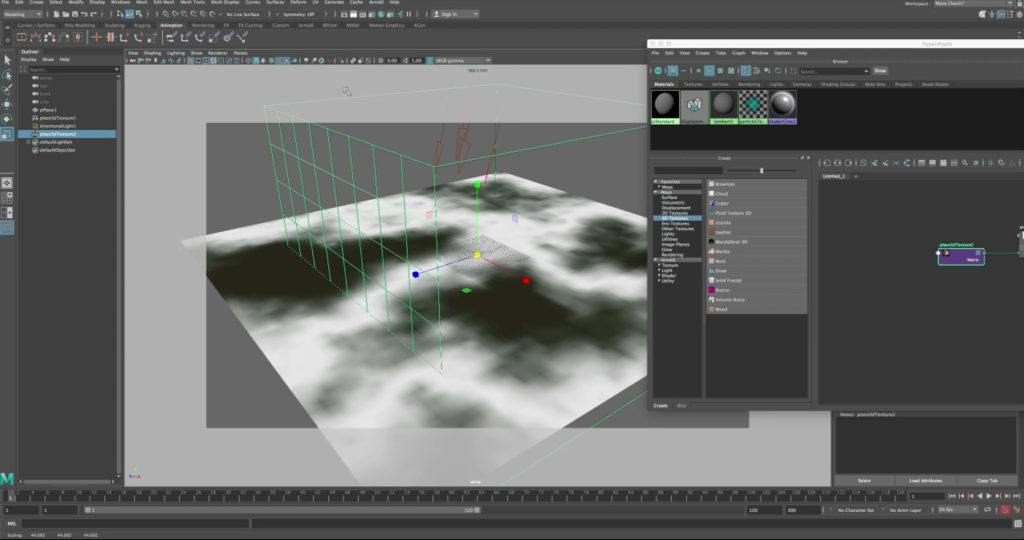
Ok lets do a test render and check what the mountains look like after we added the texture map, so now we have top of the mountains as white then goes to dark green and then goes to the dark brown.
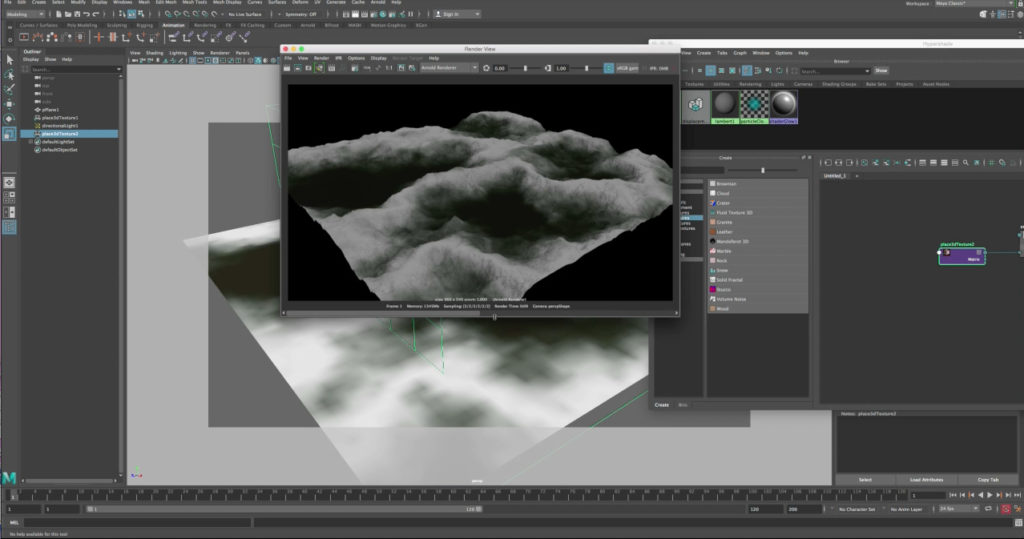
Lets create a new camera adjust the position to get a nicer angle then click the on the resolution gate to activate the camera mask to see whats will be showing in the final render, after thats done let’s adjust the scale on the mountains and make them much bigger so we can have more distance to cover, make sure to adjust the near and far clip plane of the camera if the viewport is clipping the 3d model,
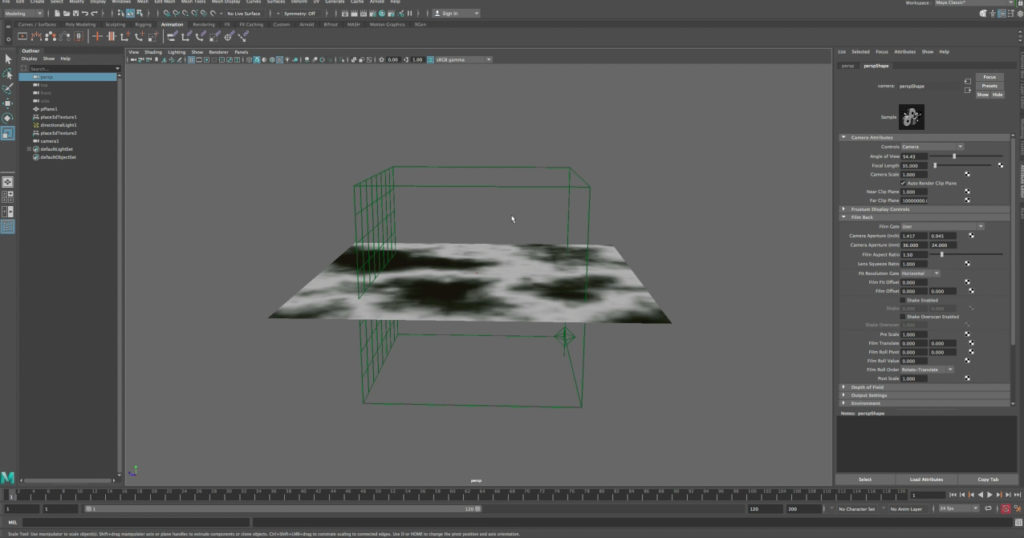
Ok let’s do a quick render with the new camera angle and see what we got so far.
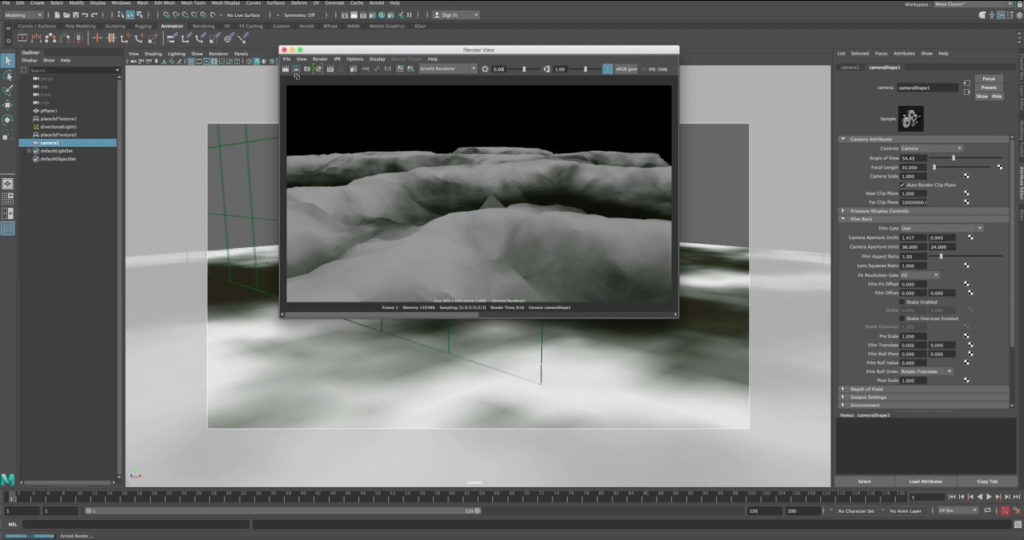
Okay so let’s increase the quality of the displacement settings in Arnold because now looks a little low quality displacement on the mountain, lets we go to the subdivision iteration and we change that from four to six then also let’s change the Bounds Padding to one.
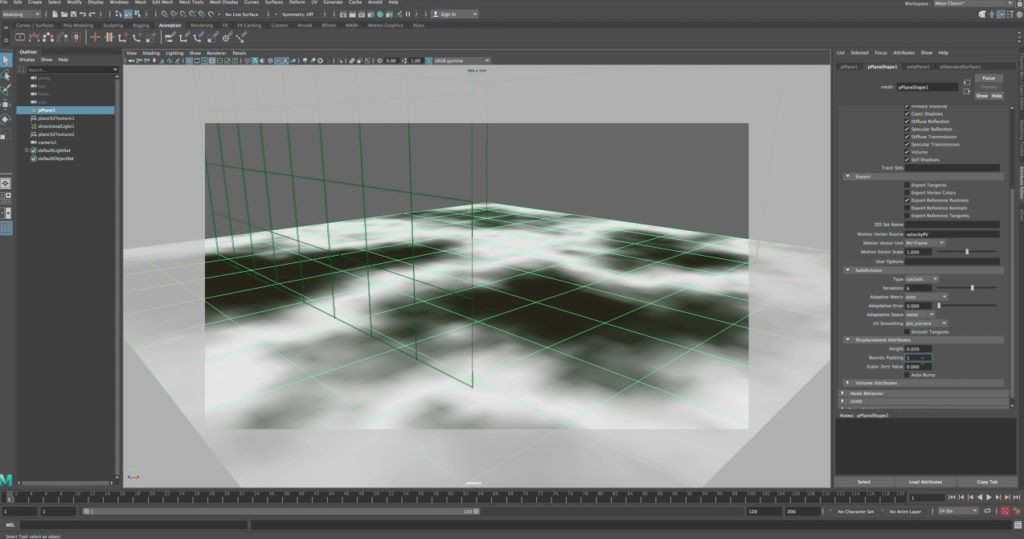
Let’s adjust the camera angle one more time to get a nicer view and let’s render
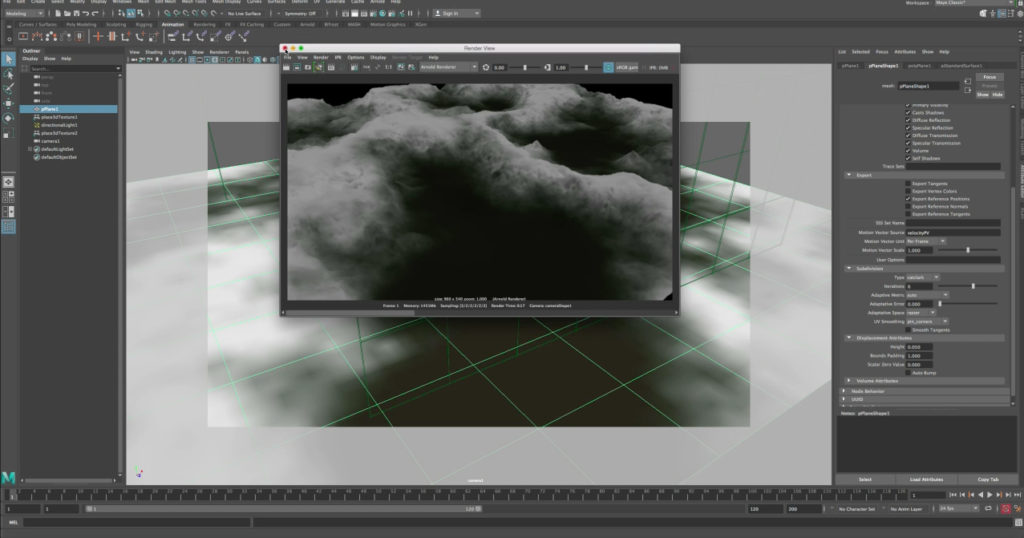
Okay so let’s adjust the texture to make it look much better let’s select the crater2 and adjust the colors to make them brighter and more vibrant, ok let’s do another render and see the result.
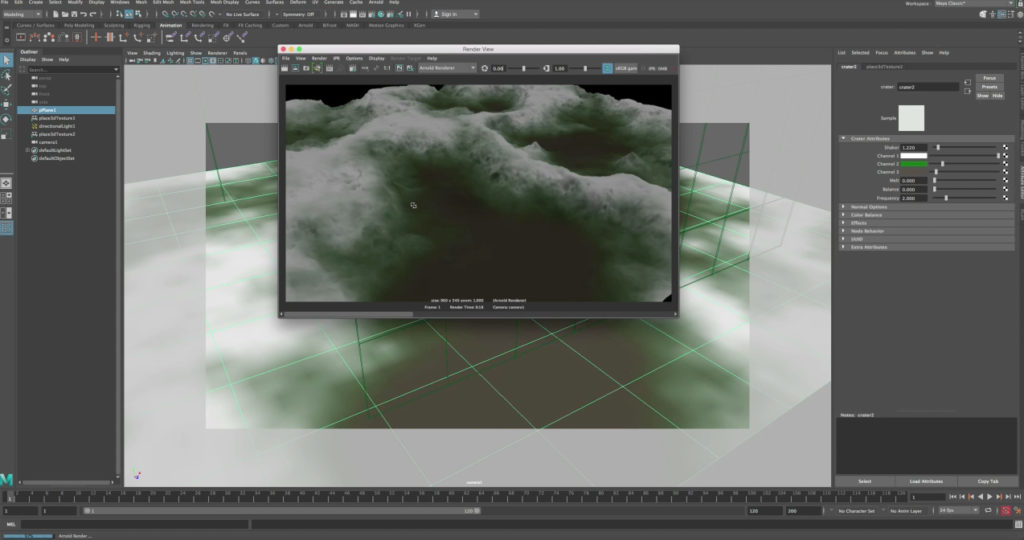
Now we are done with the new textures next step is to adjust the camera angle to get better view, ok so this is what we have for now of course we can tweak more and we can add more details to the terrain to get it more realistic, specially enhancing the textures and ideally using photos based textures will be best.
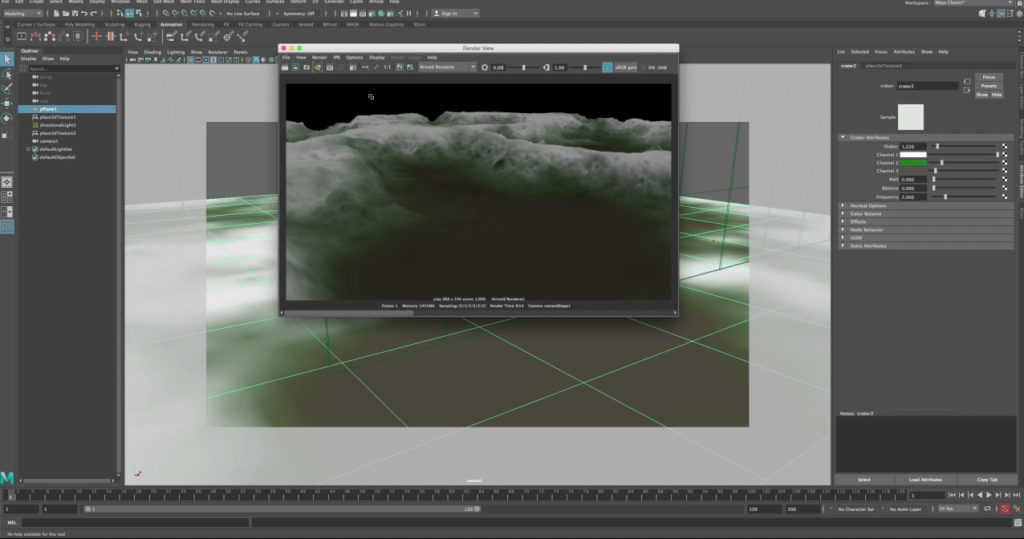
Also one last tip is we can use a different 3d node for example if we go to the hypershade we can use the 3d cloud texture node, the cloud texture node also could be used for doing this kind of effect by changing the settings on it you can generate mountains this way as well,
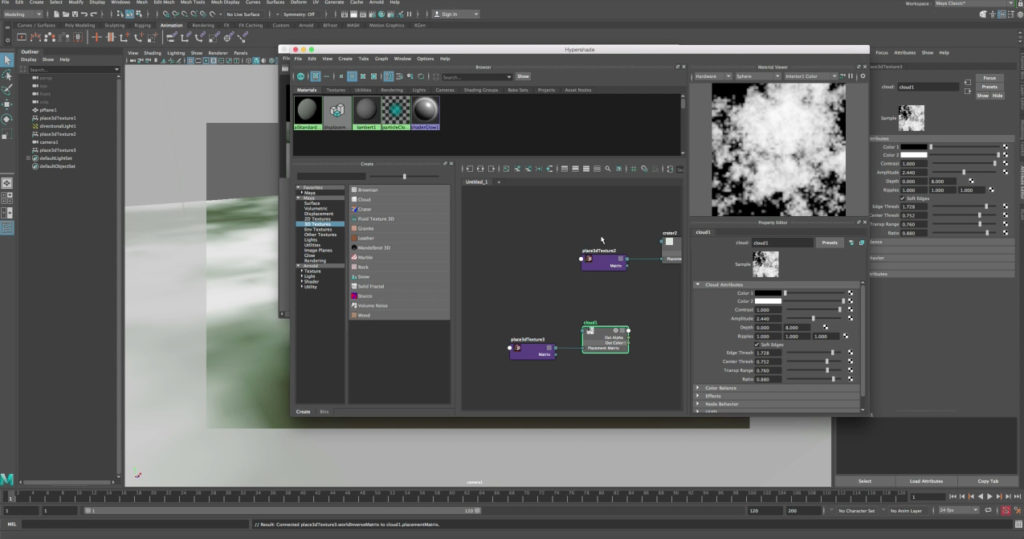
Feel free to experiment with these 3d nodes and see which one gives you the result you are after, hopefully this tutorial will help you guys let me know if you have any questions and subscribe to us for more future videos until next time take care 🙂


