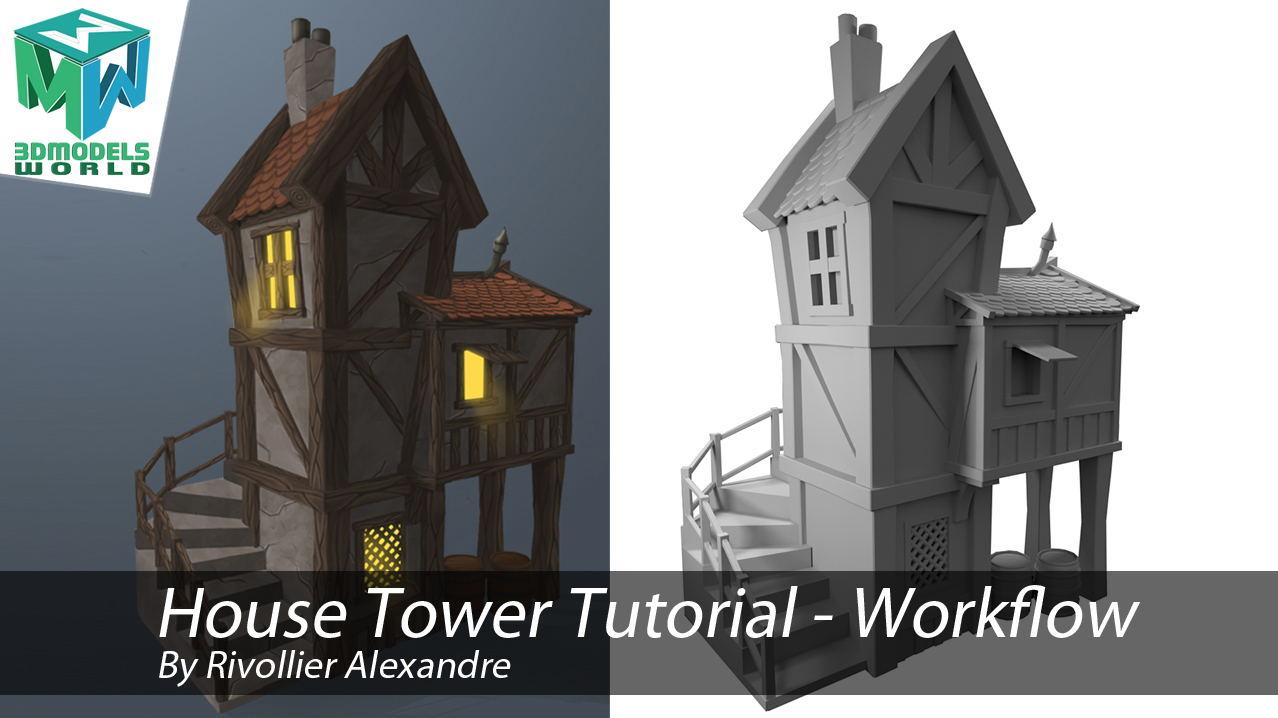
Hello guys! we would like to introduce to you (Rivollier Alexandre 3D/2D Artist) he is a very talented artist and he created this very cool workflow tutorial for modeling texturing and rendering 3d assets in Maya and Photoshop, feel free to check his website at the end of this tutorial, hope you guys will benefit from his workflow and find a way to incorporated in your own work as well.
In this tutorial I will explain how I realized “House tower”, I cut this tutorial into several parts that I will describe to you as best as I can.
Step 01 : Reference
One of the most important elements from my point of view will be the references used. Do a maximum of research on the Internet ( ArtStation, Google image, Pinterest…). It will be better for you to start your project. Once I find the references I sort the one I like then I c then I create an image with all my references.
Like this:
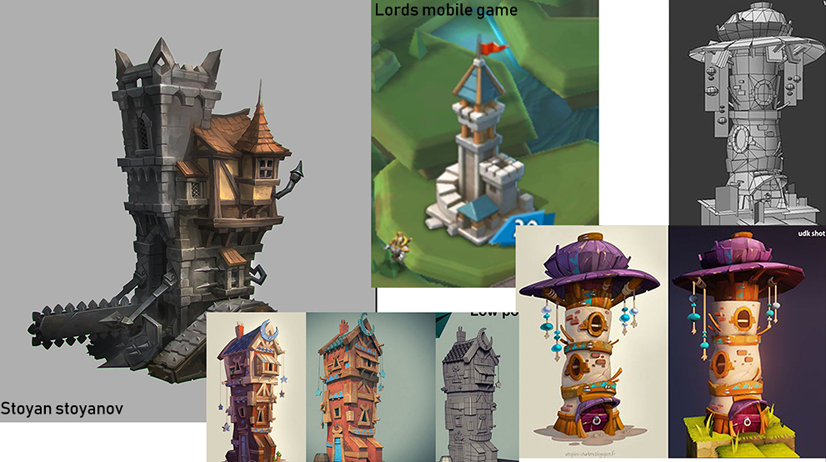
We now have a good base to start the next step which will be to create the basic concept.
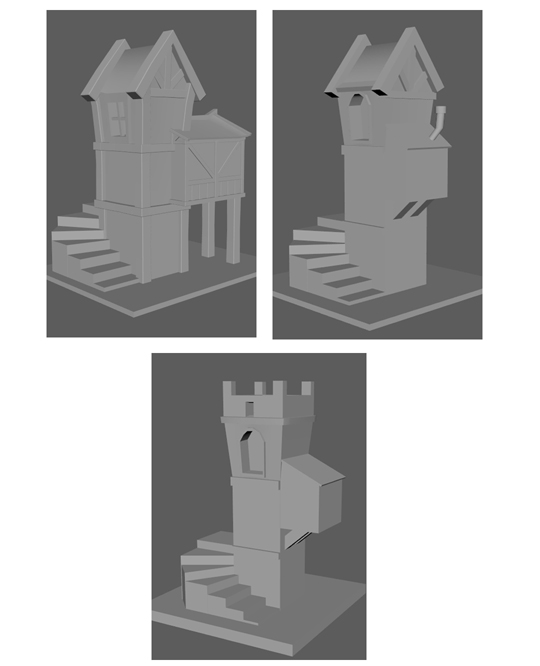
Step 02 : Block out
To create my concept I did several block-outs. I used primitive forms to get the global concept, this makes it possible to see if the general shape of your creation is correct and pleasant to look at. Once I have found something that suits me I start the details of the modeling. (Nothing prevents you from adding elements in the middle of the modeling)
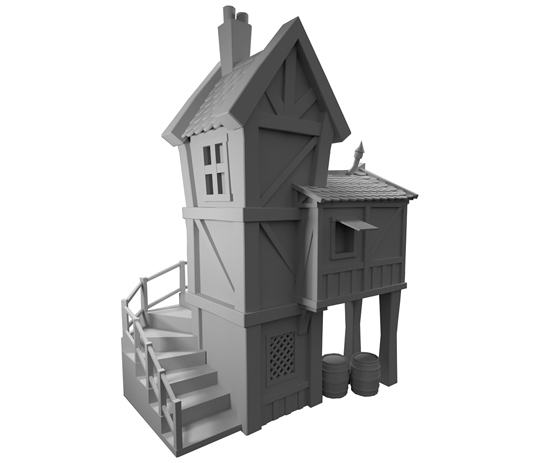
Step 03 : Modeling
For this modeling phase I first tried to visualize what I wanted to do in texture. It helps me to know which is worth modelling further or not, I’ll gain time. Then free to your imagination do not hesitate to add more elements if you think it is necessary.

Step 04 : Rendering
When the modeling is finished you will have to render your 3d scene. You can use the rendering software that suits the best ( 3dsmax, RenderMan on maya and other…), the objective is to create a image with shadows and lights. Personally I have used RenderMan. (Downloadable here in a free version: https://renderman.pixar.com/intro_logged_in
So I used 3 WHITE lights to be able to use the colors that suit me for the texture. In regard of the software you will find complete tutorials of their operation on youtube. Rendering is not my domain so you will be better informed by someone else who masters it.
That’s what it looks like for me:
- -3 white lights –
- 1 PrxDomeLight
- -House Tower
- -1 plane
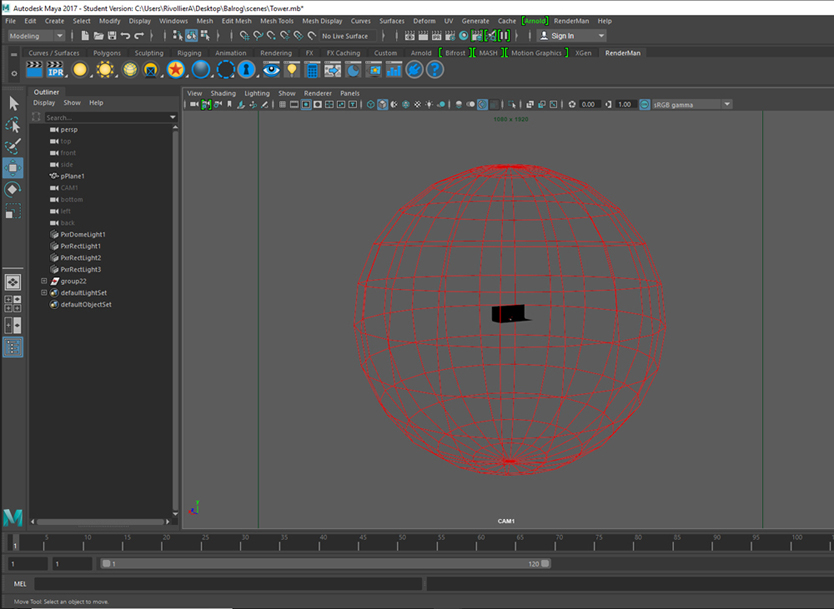
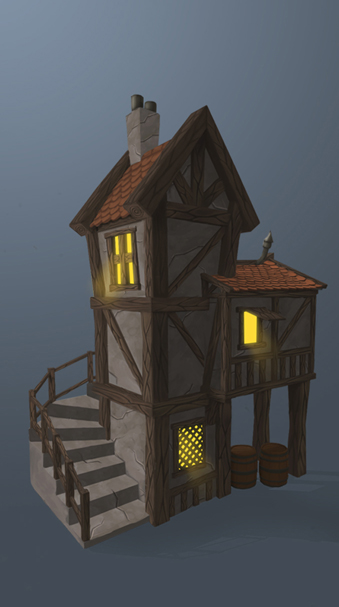
Once the rendering is done, here you find yourself with an image.
Like this one:
With this base, I started texturing the house tower. You can see the shadows and lights created by the rendering this will be one less job to do on the texturing. All that remains is to move on to the texturing stage.
Step 05: Texturing
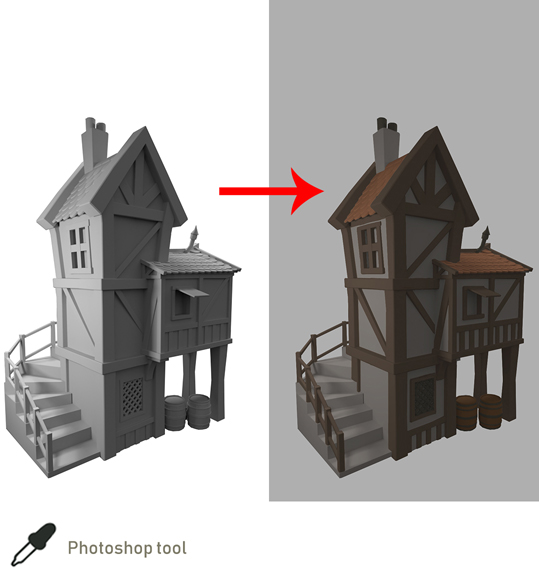
1. Base Color
The first step of the texture is the color base. By searching for references at the beginning of the project I already had some idea of color. If you are not sure of your choice of color do not hesitate to pip the colors on a real image you like or even a composition of an artist, you’ll be sure that the colors match well with each other. Use layer types such as Overlay, Color, brightness….
2. Texturing
This is the longest step in the texture. It consists to create your textures like wood, stone, metal etc…. You will have to texture over your color base. Personally I put my layers together in a group and I makes a copy that I combine to have only one layer and then I hides the base color group :
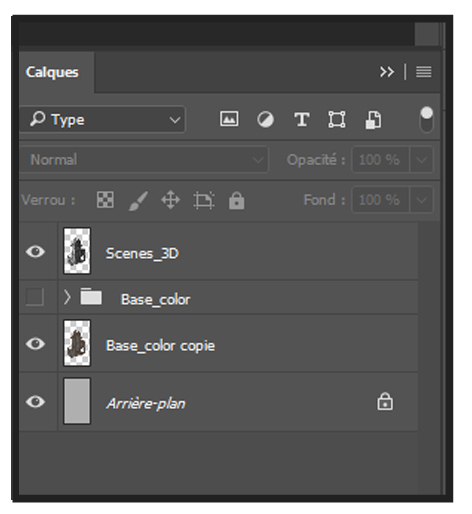
When this is finished, only the details remain. I repeat this step every time or when I judge necessary to organize my layers for a better visibility.
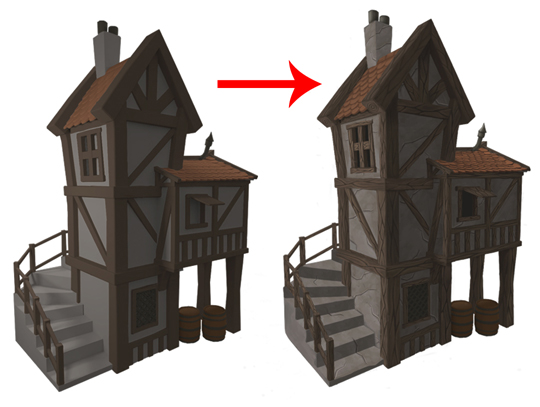
3. Detail and render
This step consists in finishing your image to put it in value. It is necessary to think about the desired atmosphere of your illustration, in my case I chose that my illustration would be at night, so I created a dark blue background with a dot of light at the top left of the illustration with a shadow, low on the house tower. I also added lights to the level of the windows to make you think that the house is inhabited which reinforces the night effect. It’s important to thinks about this kind of thing all along the illustration it gives a lot of inspiration.
Thank you for following this tutorial that was created for “3DModelsWorld.com“. I really hope it was useful to you.
Rivollier Alexandre 3D/2D Artist


