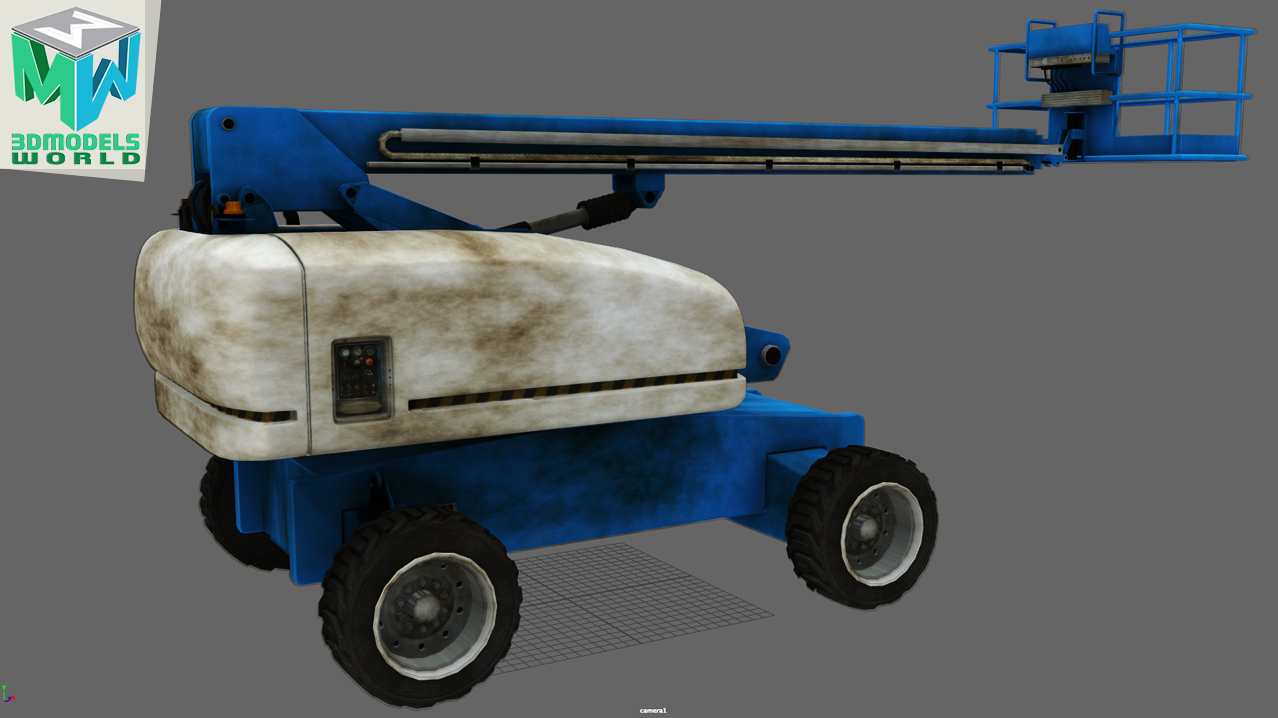
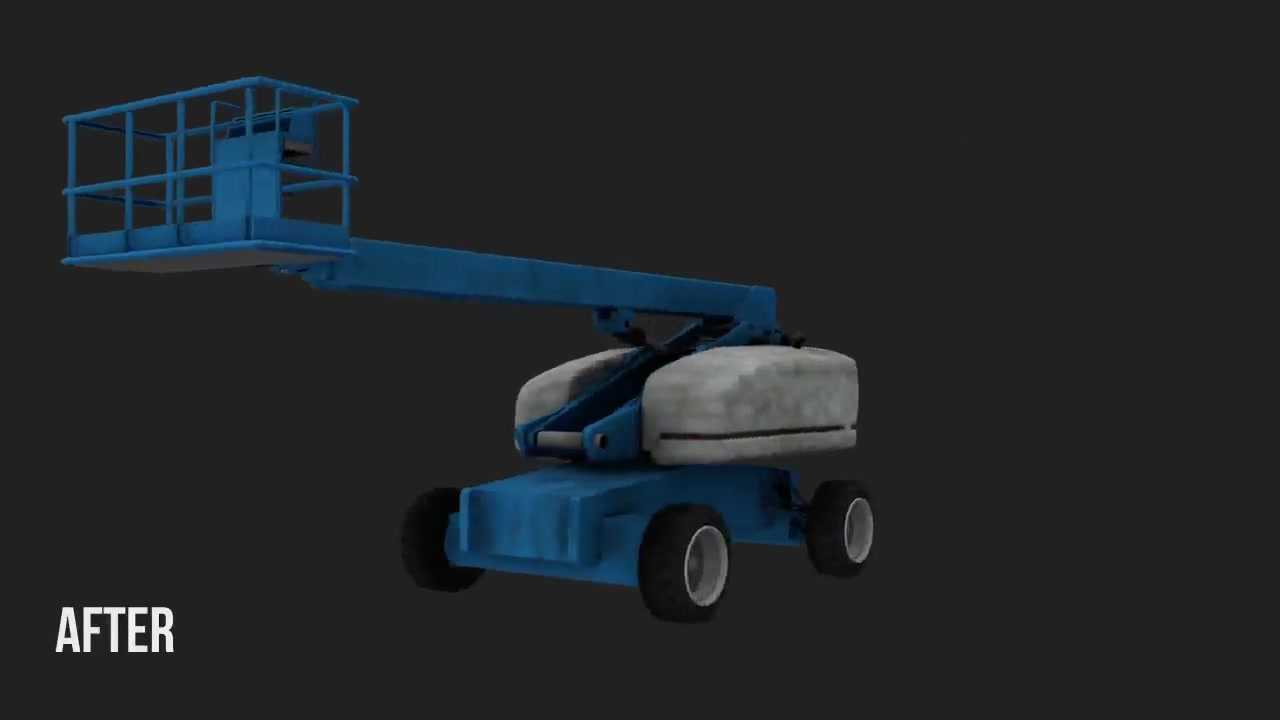
In this Maya tutorial we will quickly create a dirt and grunge pass by customizing the ARNOLD ambient occlusion shader and convert it from ambient occlusion to a custom dirt and grunge effects that we will apply to our 3d model.
This is a pretty fun way to add dirt to your scene without doing any UV mapping at all its fast and very reliable, it does however have limitations, for example you can’t use it for creating a very specific dirt effect but definitely you can use this technique to enhance the render quality and make it look more realistic.
This tutorial will not fully replace the traditional hand painting textures for dirt and grunge but it will definitely be a great asset to use when you need to enhance your renders and add extra level of details to the final look.
This tutorial is for all Maya skill levels, the topics we will cover in this tutorial include the following:
1- Looking at reference image to understand the effect that we are looking for.
2- We will talk about the limitation of this approach and in what cases you need to have a texture map instead of procedural approach.
3- Using ARNOLD ambient occlusion shader and how to customize it to get the dirt and grunge look.
4- We will talk about inverse normals in ARNOLD aiAmbientOcclusion and how it is the key to create dirt pass instead of ambient occlusion pass.
5- Also we will add a simple fracture texture to make it as a dirt.
6- We will take the beauty pass and the dirt pass and composite them in Adobe photoshop.
7- Finally we will do a color correction to the dirt pass to give it a custom look and feel.
Click on the link to go to the Boom Lift 3D Model that used in this tutorial.
We hope that you will benefit from this tutorial, if you have any questions please feel free to ask us in the comments below and we will be happy to answer them.


